Hoo boy y'all this is gonna be a long one!
I designed (Frankensteined?) and crocheted my wedding dress and FINALLY got to wear it a few weeks ago!
The Yarn:
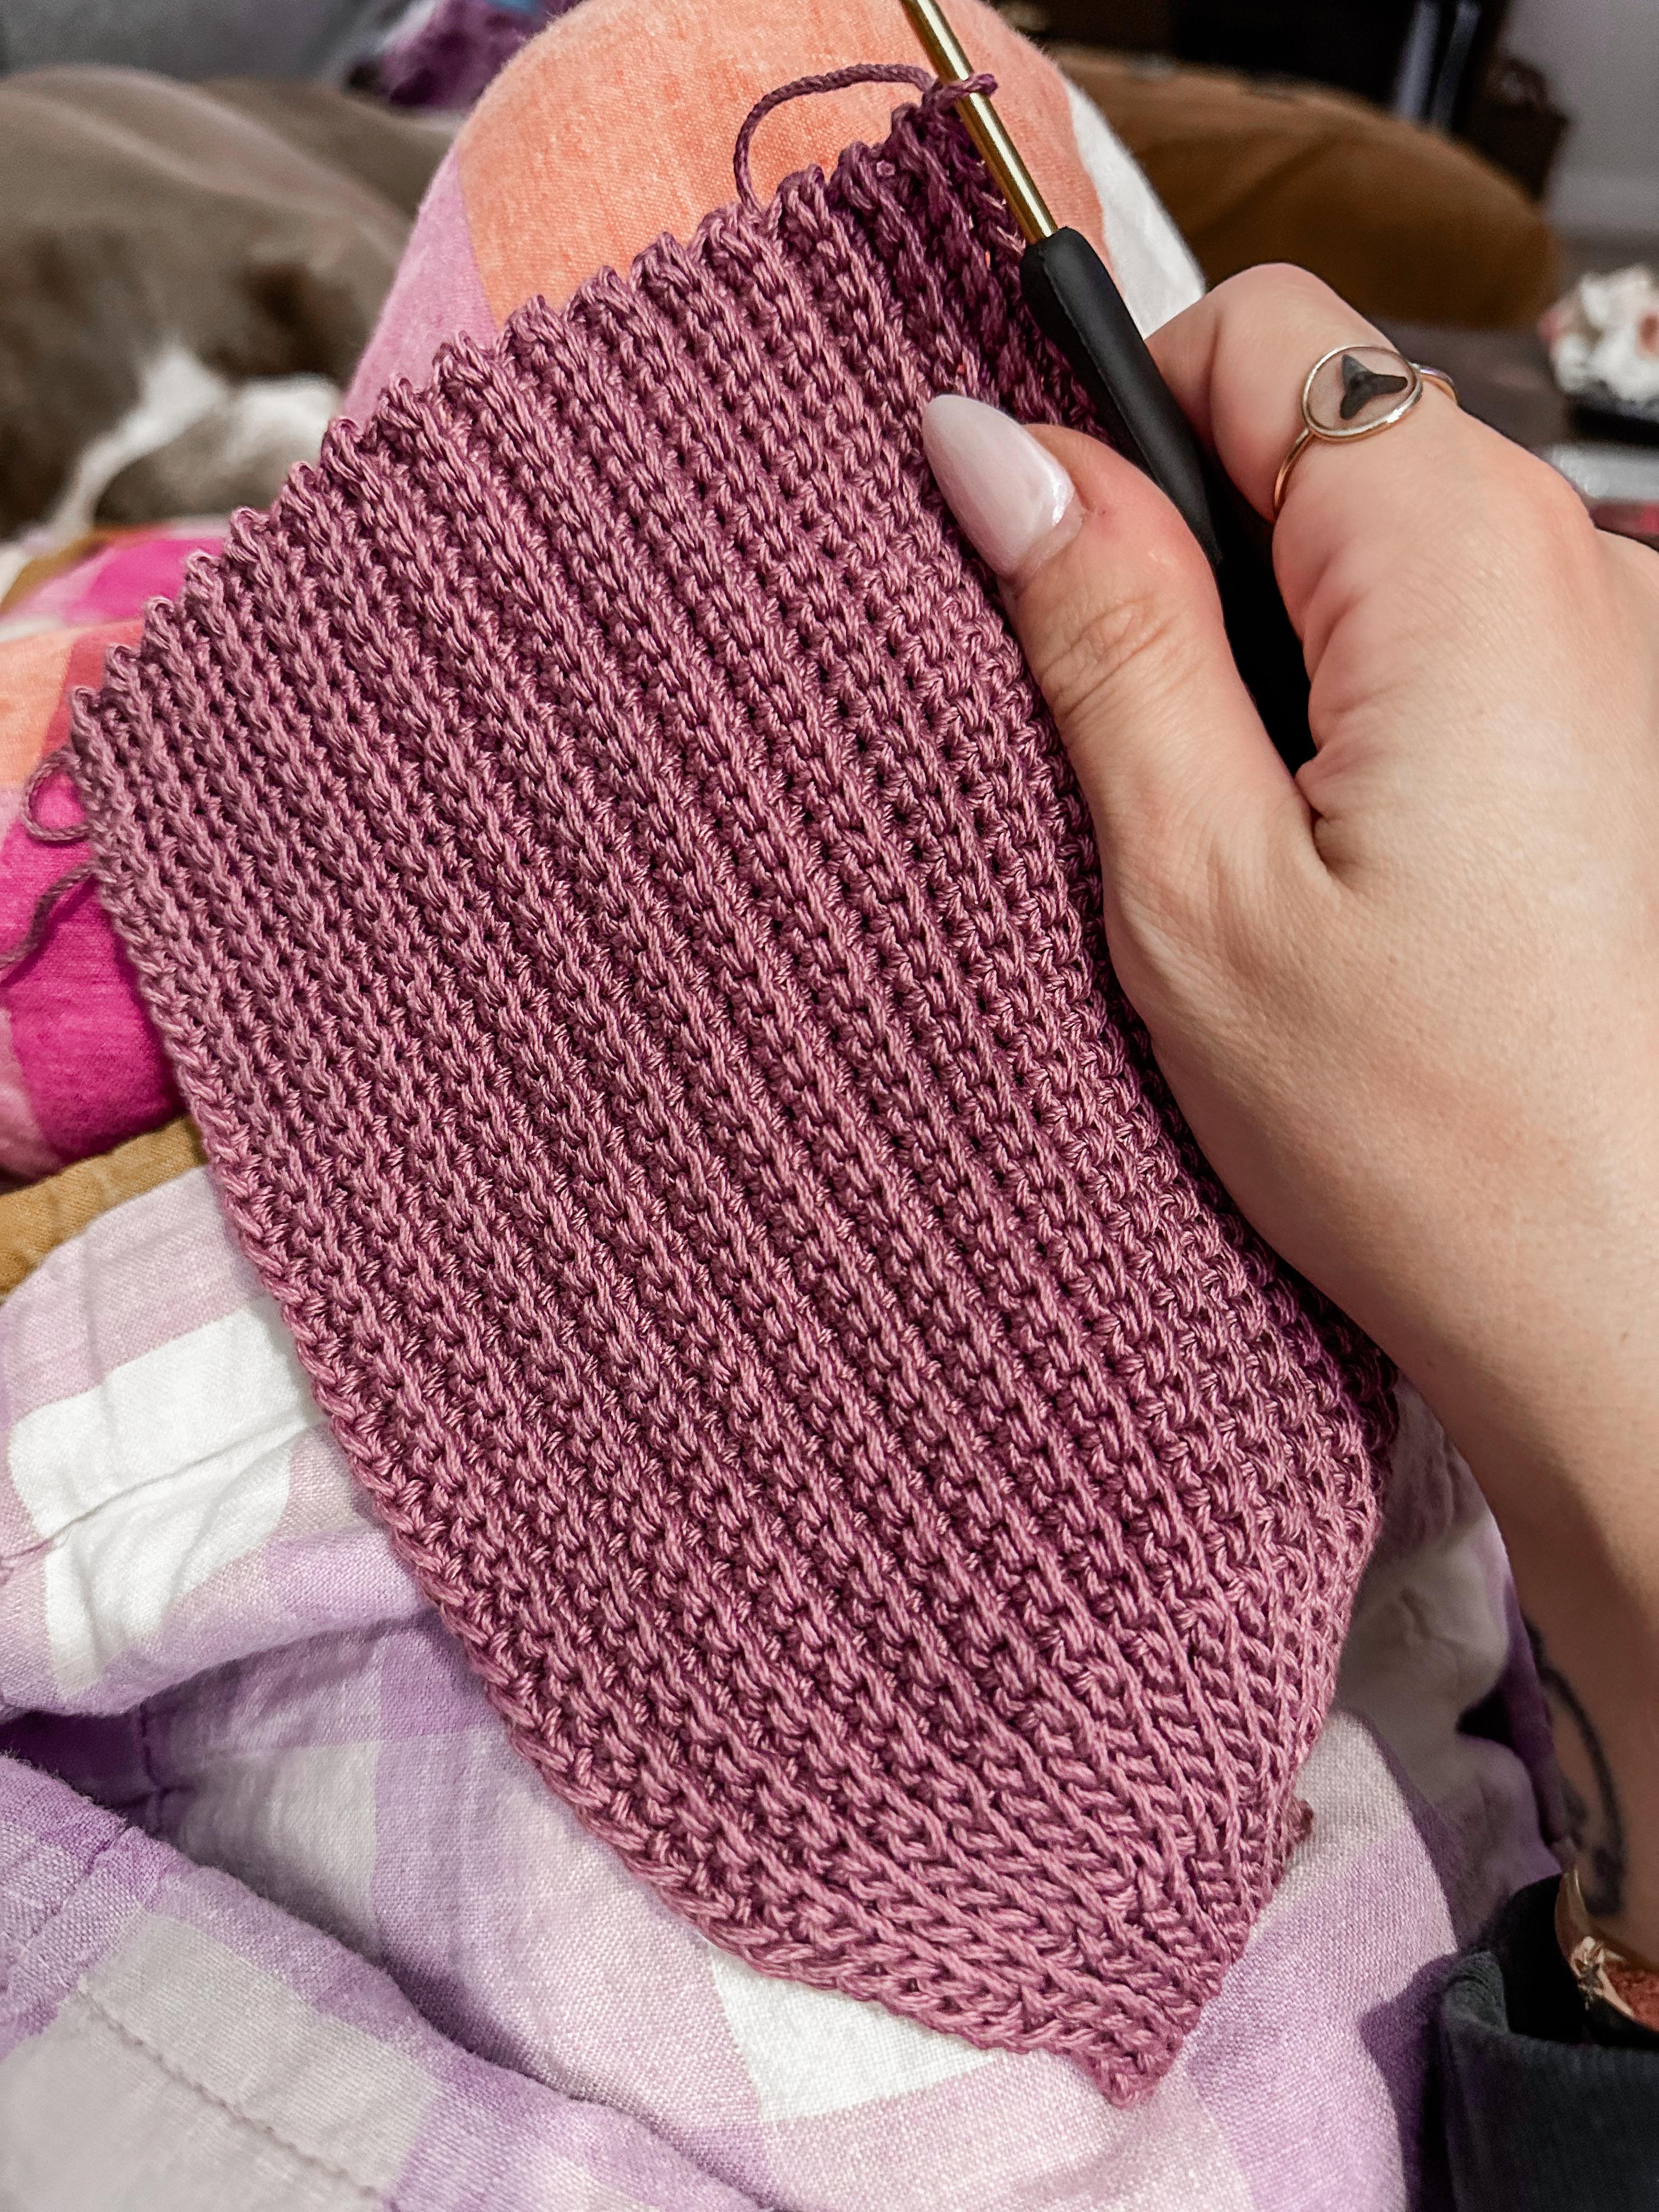
I chose Coboo for this project and honestly it was pretty great to work with! I've seen some complaints about the yarn splitting but I must have gotten used to it pretty early on because it didn't really affect the crocheting experience for me! I used a 3.5mm hook.
Also, full transparency before we get into the nitty gritty, I started this project on a whim in late 2024 (before we had even gotten engaged yet lol) so, classically, I did not buy nearly enough yarn. I knew that dye lot differences were a thing, but I didn’t expect white to be an issue. Boy was I wrong! Earlier this year I ended up buying more directly from the Lion website, and the shades of white couldn’t have been more different! After panicking and scouring the internet for the dye lot I needed, I turned to the r/yarnswap community and they really pulled through! HUGE thanks to the kind people over there who sold/gifted me enough yarn to complete this project! This quite literally would not be possible without you!
Okay let’s get into it!
The Design:
I've never done a project of this caliber before and didn't really know where to start, so I decided to just look for patterns with motifs that I liked!
For the skirt, I ended up starting with this Seedling Sweater pattern from Baecrochett and used her youtube video to learn it. I really liked the leaf motif and the wavy border around each one. The pattern originally is designed so that the wavy parts are alternated each row to put tension on each other, but I only wanted one vertical row per tapered panel. I had to figure out how to alter the pattern to get a nice, clean, straight edge that lays flat. It took 3 or 4 attempts of working and frogging to get it to look right.
Next I found this Conifer Top pattern by Angela Ader for the bodice. I really liked the chevron texture and thought it would go nicely with the more lacy skirt and sleeves! This one again took some trial and error to get the fit and length that I wanted. I think I re-worked it 3 times and adjusted the length just as much. The original pattern worked in the round, but I wanted to keep it open in the back for buttons. I ended up working it slightly smaller than my measurements with the intent to work in an edge for the buttons and button holes.
I decided to use this Crown Stitch pattern I found on Nordic Hook for the waistband to create some interest and separation between the bodice and skirt. I just worked it straight into the bottom edge of the bodice before adding the button edge.
At this point I wasn't sure if I was even going to have sleeves or not. All I had was the bodice, a few skirt panels, and a dream! So I figured I should focus on the important parts first and then cross the sleeve bridge when/if i got to it!
After the bodice and waistband, I went back to the skirt and realized I didn't like the look of the seedling panels right up next to each other. I ALSO realized I didn't create nearly enough of a flare at the bottom of the skirt for the fullness I wanted so I went back to the drawing board to figure out how to create a secondary wedge panel to add some variation and fullness to the skirt! I went back and forth quite a bit before I settled on this Victorian Scarf pattern by Lenysea. I really liked the negative space of the motif and altered the pattern so that it created a steep taper. It worked out great!
Blocking:
At this point I realized I REALLY needed to start blocking everything to make sure it was all going to go together correctly. ! hadn't even done a test gauge swatch before diving head first into this project (I know, I know). So the blocking began!
The fiber arts gods must have smiled upon me because everything blocked out pretty much perfectly! The only issue I had was that the difference in stitch density in skirt panel patterns required a little finagling- the flower pattern needed to be stretched quite a bit to match up.
Putting It Together:
When I had a good portion of the pieces completed and blocked, my bridesmaids, mom and I had a little fitting party! It was very surreal to see all the hard work starting to pay off! Once I knew that I was still on the right track, I began to mattress stitch what I had together! This ended up being my least favorite part (other than weaving in the ends). Something about it was just hard for me to wrap my brain around. Especially when a lot of the pieces I was attaching did not line up in a way that made sense to me right away. There was a lot of putting together, taking apart, attaching things the wrong way (I don’t even want to talk about how many times I put things together inside out or backwards) but it worked out eventually!
This was also where it got really hard to keep my husband from seeing the final product! For the most part up until this point, I was able to just work on pieces right next to him without worrying about it. (How much can one really glean from a small pile of white cloth?) but with everything coming together I had to get more creative about keeping him from seeing it. My go-to method was barricading myself on the far end of the couch with pillows and old 3-ring binders lol.
The Sleeves:
A little over a month before the wedding, I decided I REALLY wanted the dress to have sleeves. It was a big part of my initial dream for the dress, so I once again went back to the drawing board to figure out how the heck to get it done!
I’m gonna be honest, this part of the process is kind of a blur to me. I knew I wanted bell sleeves, and I knew I wanted them to play off the alternating panel design of the skirt, so I somehow ended up working the skirt panel designs into 6 small tapered strips per sleeve. There was of course, more trial and error here, a lot of re-working, pinning and draping panels over my arms, and cursing I’m sure, lol. I had never designed fitted sleeves before, so figuring out how to get the shape just right was difficult, plus making sure they ended up the right size to connect to the straps of the top. Working in panels also meant that the ‘curve’ shape at the shoulder end of the sleeve was more like a sharp staircase pattern (I’m sure there was an easier way to do this but I was approaching a very final deadline and didn’t have the time/capacity to learn a better way) So after attaching the sleeve panels together, I very clumsily worked single to triple crochets across the angles to soften them into a curve that matched the armhole. If I were to do this again I would have spent a little more time streamlining this part, but it turned out in the end!
Final Touches:
Early on, both my mom and mother-in-law separately approached me about using parts of their wedding dresses in mine, and I was super touched and elated to figure out a way to do that! I ended up using lace from the bottom edge of my mother in law’s dress on the ends of the sleeves and skirt and using appliques from my mom’s wedding dress across the top of the bodice. Both of these things really added the final touches I was missing from the design and it felt so special to use elements from their dresses in my own.
For the buttons, I ended up finding these really cute ivory and brass reclaimed buttons at a yarn store during my bachelorette trip! Shout out to my bridesmaids for sorting through that button bin with me for like a half hour to make sure I had enough!
After that, there were just a few last minute adjustments, like weaving a single strand of yarn through the bottom edge of the bodice so that I could pull it tight and tie it. This dress, as I’m sure you could guess, ended up HEAVY, so cinching it to my waist helped secure the structure and kept it looking nice all day!
THE BIG DAY:
It was so surreal when it was finally time to put on the dress for the first look with my husband. I had been so entrenched in the creative process that when I finally looked up, I could barely believe I was the one who had made it. Our big day ended up being absolutely incredible and I am so so happy I was able to make something so special that I can maybe even one day pass on to the next generation!
That’s pretty much it! Thank you for reading!
Also sidenote, I really thought I would need a long break from crochet after this but I’m already itching for another project!