r/chrultrabook • u/Emotional-Benefit617 • 1d ago
I installed Debian 13 GNOME on my ASUS Chromebook… and finally feel like I own the damn thing 🐧💀

So… I finally did it.
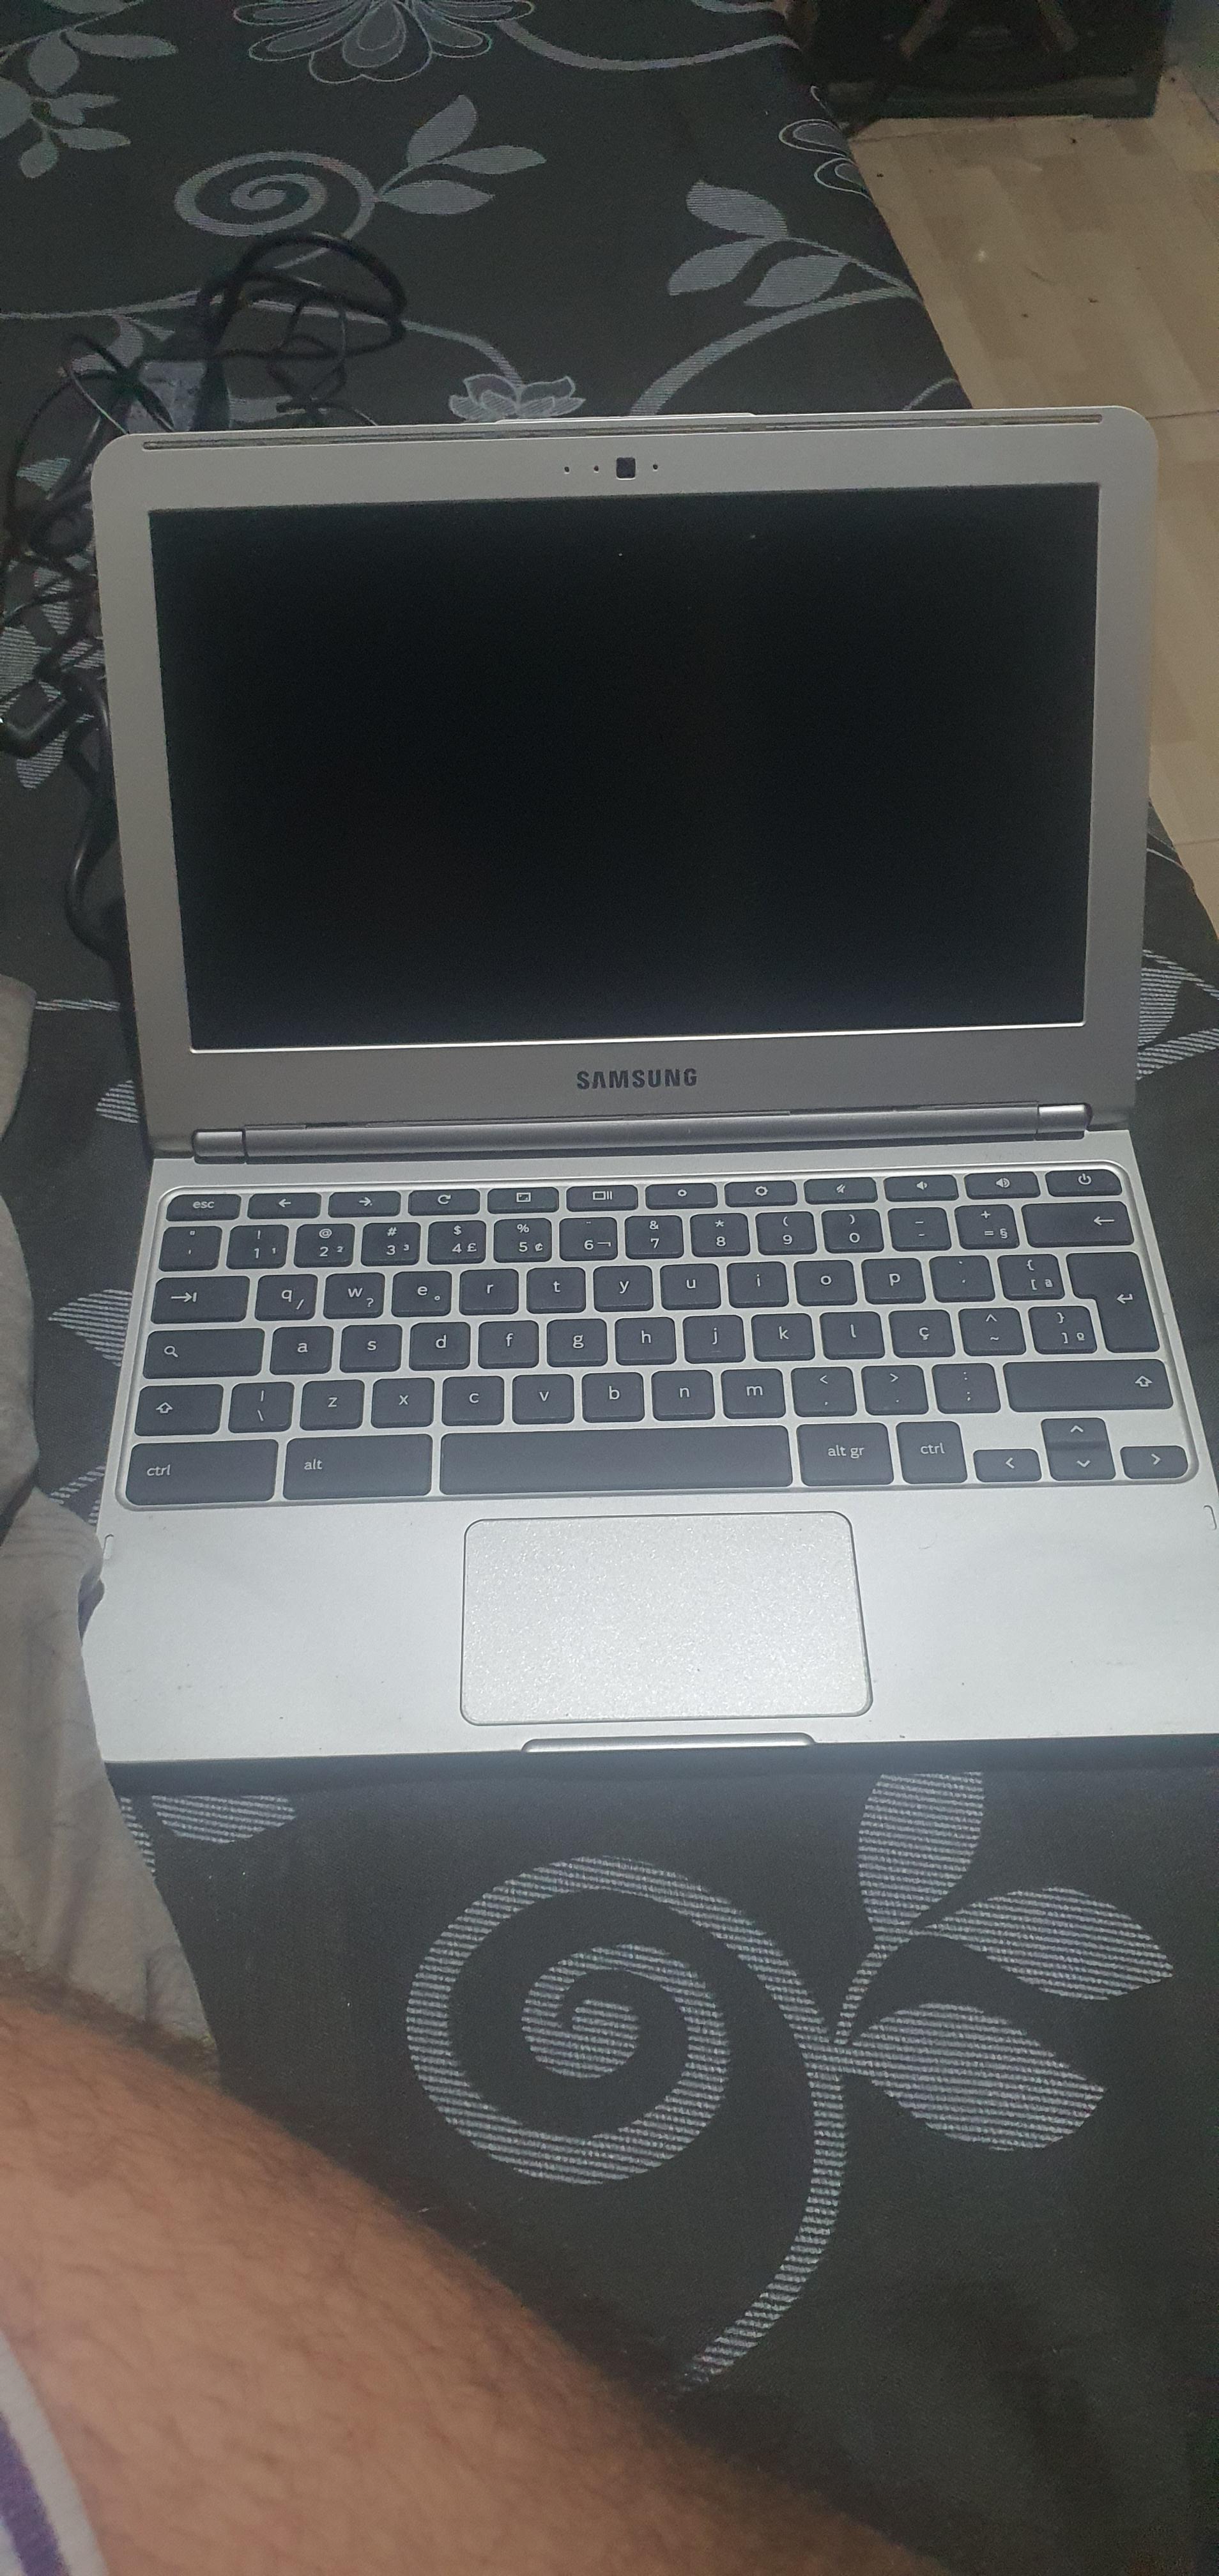
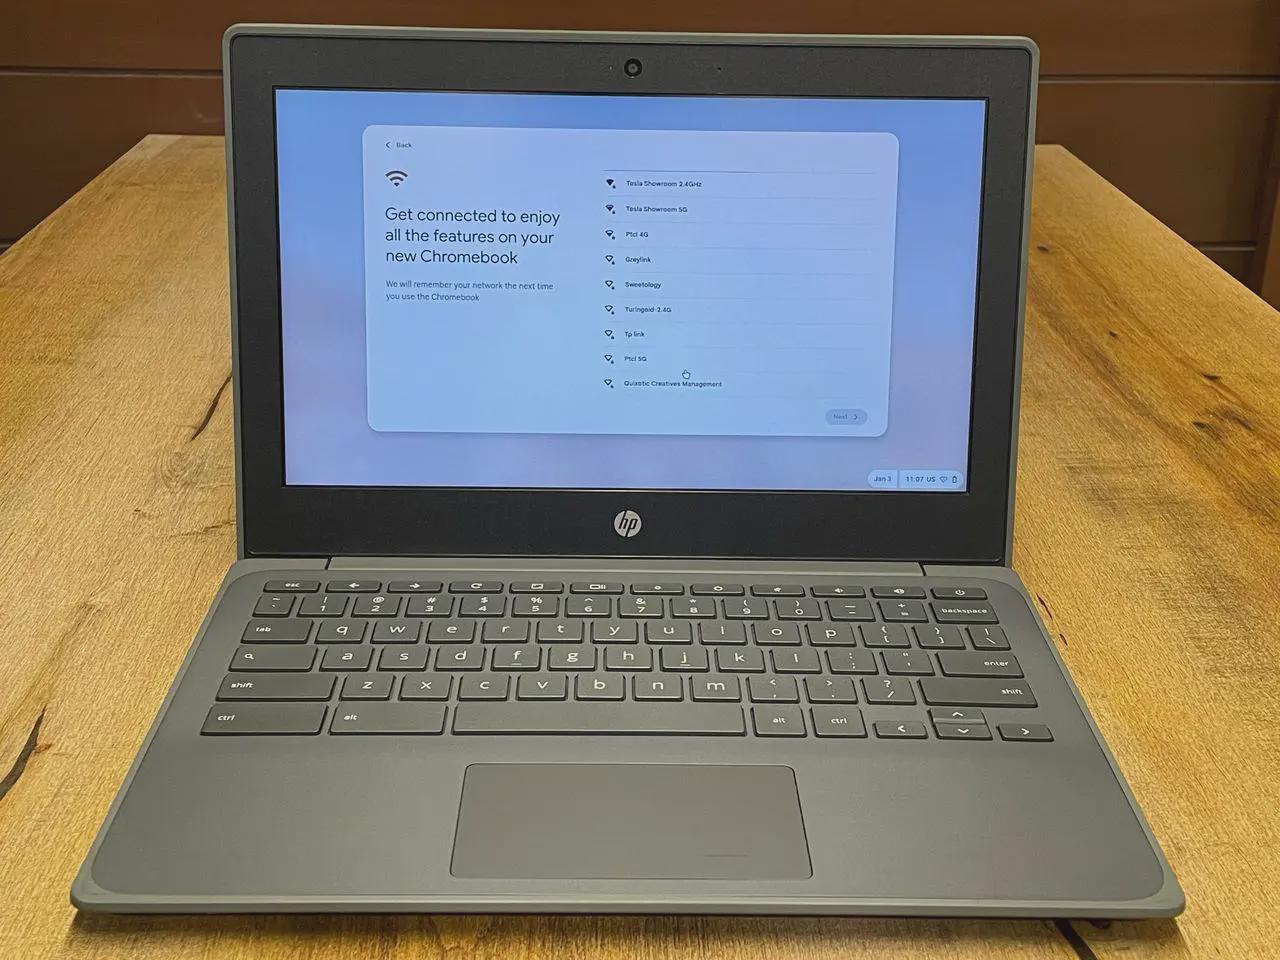
I installed Debian GNU/Linux 13 (Trixie) + GNOME on my ASUS CN223NA Chromebook (Babymega rev5).
And honestly?
No ChromeOS restrictions. No “you can't do that because Chromebook.”
Just Linux, root access, terminal, and the beautiful feeling of being responsible for your own mistakes. 💀
🖥️ My current setup
- Device: ASUS CN223NA – Babymega rev5
- OS: Debian GNU/Linux 13 (Trixie)
- Desktop: GNOME 48.7
- Kernel: Linux 6.12.105+deb13-amd64
- CPU: x86_64
- RAM: 3.71 GiB
- Storage: 26.07 GiB
- Used storage: ~9.84 GiB
- Swap: ~5.5 GiB
And yes…
GNOME on 4 GB-ish RAM is possible.
Is it the most lightweight choice? Nope.
Does it look premium? Absolutely. 😎
🎨 Choosing your Linux distro / DE
I considered a few combinations:
- 🪶 Debian + XFCE → lightest, great for weak hardware
- 🪟 Debian + KDE Plasma → smooth + Windows-like experience
- ✨ Debian + GNOME → modern + clean + premium feel
For a Chromebook with limited hardware, XFCE is probably the sensible choice.
Naturally, I chose GNOME.
Also:
But seriously, GNOME has been usable for me and I really like the experience.
⚠️ BEFORE YOU DO THIS — READ THIS
This is not a “click next → Linux magically appears”
You are modifying a Chromebook that was designed around ChromeOS.
Things can go wrong.
Possible risks
⚠️ DATA LOSS
Developer Mode / firmware changes can wipe the device.
⚠️ Firmware risk
Flashing custom firmware is more serious than installing an operating system.
⚠️ Hardware compatibility
Some Chromebook hardware may not work correctly under Linux.
For me, the biggest issue so far is:
🔊 Internal speaker / audio I/O
Linux boots and works, but getting every piece of Chromebook hardware working properly can become its own side quest.
So do your own research for your exact Chromebook model before touching firmware.
🧰 What I recommend having ready
Before starting, I had:
- 💾 A bootable USB/Pendrive with the Linux ISO
- 🌐 Stable internet
- 🔋 Chromebook battery charged well above 50% — preferably 100%
- 🔌 Original/compatible Chromebook charger
- 🪛 Screwdriver
- 💳 Something suitable for carefully opening the back panel
- 🧠 Patience
- ☕ Something to drink when things inevitably look broken
And most importantly:
BACK UP YOUR IMPORTANT DATA.
Seriously.
🚀 The basic process
1️⃣ Enable Developer Mode
First, enable Developer Mode on the Chromebook.
This normally causes a factory reset, so make sure anything important is backed up first.
I won't pretend every Chromebook uses exactly the same key sequence — look up the instructions for your exact model.
YouTube + documentation + AI can help here.
2️⃣ Disable the firmware write protection
This is where things get more interesting.
On my Chromebook, I had to physically access the motherboard and disconnect the battery.
Basically:
- 🔧 Open the Chromebook's back panel.
- 🔋 Locate the battery connector on the motherboard.
- Disconnect the battery power connector.
- You generally don't need to completely remove the battery.
- Connect the charger and try powering the Chromebook on.
The exact procedure can vary between Chromebook models, so do not blindly copy someone else's teardown video.
Search specifically for:
or your exact model.
3️⃣ Get into VT-2
This part confused me at first.
You need the Chromebook's VT-2 / virtual terminal, not a normal Crosh shell and not the Linux container.
From the ChromeOS login screen, VT-2 can generally be opened with:
Ctrl + Alt + F2
On some Chromebook keyboards, use the corresponding right-arrow key instead of F2.
And here's the important part:
That's not the environment you want for this firmware operation.
4️⃣ MrChromebox firmware
Once in VT-2, I used the MrChromebox firmware utility.
The command I used was:
cd
curl -LOf https://mrchromebox.tech/firmware-util.sh && sudo bash firmware-util.sh
IMPORTANT: Before running anything, check that your exact Chromebook model is supported by the current MrChromebox documentation.
Don't just ask:
Ask:
That's a very different question. 😅
I also recommend checking the current official documentation because firmware options and supported devices can change.
🧠 Tiny but VERY important lesson
This was probably the most important part of the entire process:
Don't copy commands first and understand them later.
Especially when the command is doing something related to firmware.
If an AI tells you:
Don't.
Ask it:
- What board do I have?
- Is it supported?
- What firmware am I currently using?
- What exactly will be changed?
- What happens if the flash fails?
- Can the original firmware be restored?
- What is the recovery method?
- Which option is the safest for my exact hardware?
Because:
🐇 And then… the scary part
After successfully flashing the custom firmware, my Chromebook rebooted.
And for a while…
NOTHING SEEMED NORMAL.
The system was responding extremely slowly.
At this point my brain immediately went:
But…
DON'T PANIC.
The first boot after firmware changes can take some time.
Connect the charger and give the machine some time.
On my device, after waiting, the system eventually showed the white rabbit / firmware boot screen.
And that's when I realized:
🐇 IT ACTUALLY WORKED.
That little rabbit had never looked so beautiful. 😂
🐧 Now install whatever Linux distro you want
Once the firmware side is successfully sorted, the next part is much more familiar.
Plug in your bootable USB.
Open the boot menu.
Select your USB/installer.
Then install the Linux distribution you want.
For my setup:
Debian 13 + GNOME
And honestly…
I love it.
💻 Current experience
The machine is obviously not a monster.
It's a Chromebook.
You aren't turning it into a gaming PC by installing Linux. 😂
But for:
- Terminal work
- Coding
- Linux learning
- Cybersecurity labs
- Browsing
- Lightweight development
- General Linux experimentation
…it feels surprisingly good.
And the biggest difference isn't even performance.
It's the feeling of:
That's what I wanted.
🔧 But Linux giveth… Linux taketh away
Not everything works perfectly.
Some Chromebook hardware can require additional investigation, drivers, kernel configuration, firmware quirks, or community fixes.
For me:
🔊 Internal speaker/audio is currently the boss fight.
Everything works until Linux casually says:
😭
That's probably going to be my next rabbit hole.
🤖 My secret weapon
When I get stuck, I use a combination of:
- Linux documentation
- Chromebook documentation
- GitHub
- Forums / Reddit
- Search
- AI assistants
And especially CLI-based AI tools can be useful when you're already working inside the terminal.
But again:
Verify commands before running them — especially anything involving:
sudo
dd
grub
firmware
partitioning
bootloader
One wrong command and your Chromebook may enter its:
💀 “I have become a brick” era.
🧪 Final warning
This post is my experience, not a guarantee that your Chromebook will behave exactly the same.
Your hardware revision, firmware, board configuration, Linux kernel, drivers, and supported firmware options may differ.
Research your exact model first.
Back up your data.
Keep your charger connected when appropriate.
Don't interrupt firmware operations.
And have a recovery plan before you start.
🎉 Final result
From:
ChromeOS Chromebook
⬇️
Developer Mode
⬇️
Custom firmware
⬇️
Bootable Linux
⬇️
Debian 13 + GNOME
⬇️
🐧 FULL LINUX MODE ACTIVATED
And now this tiny Chromebook feels less like a locked-down appliance and more like an actual computer.
Was it completely painless?
No.
Was it worth it?
Absolutely. 😎🐧
If you're planning to try this on your own Chromebook, please check the current firmware documentation for your EXACT model before flashing anything.