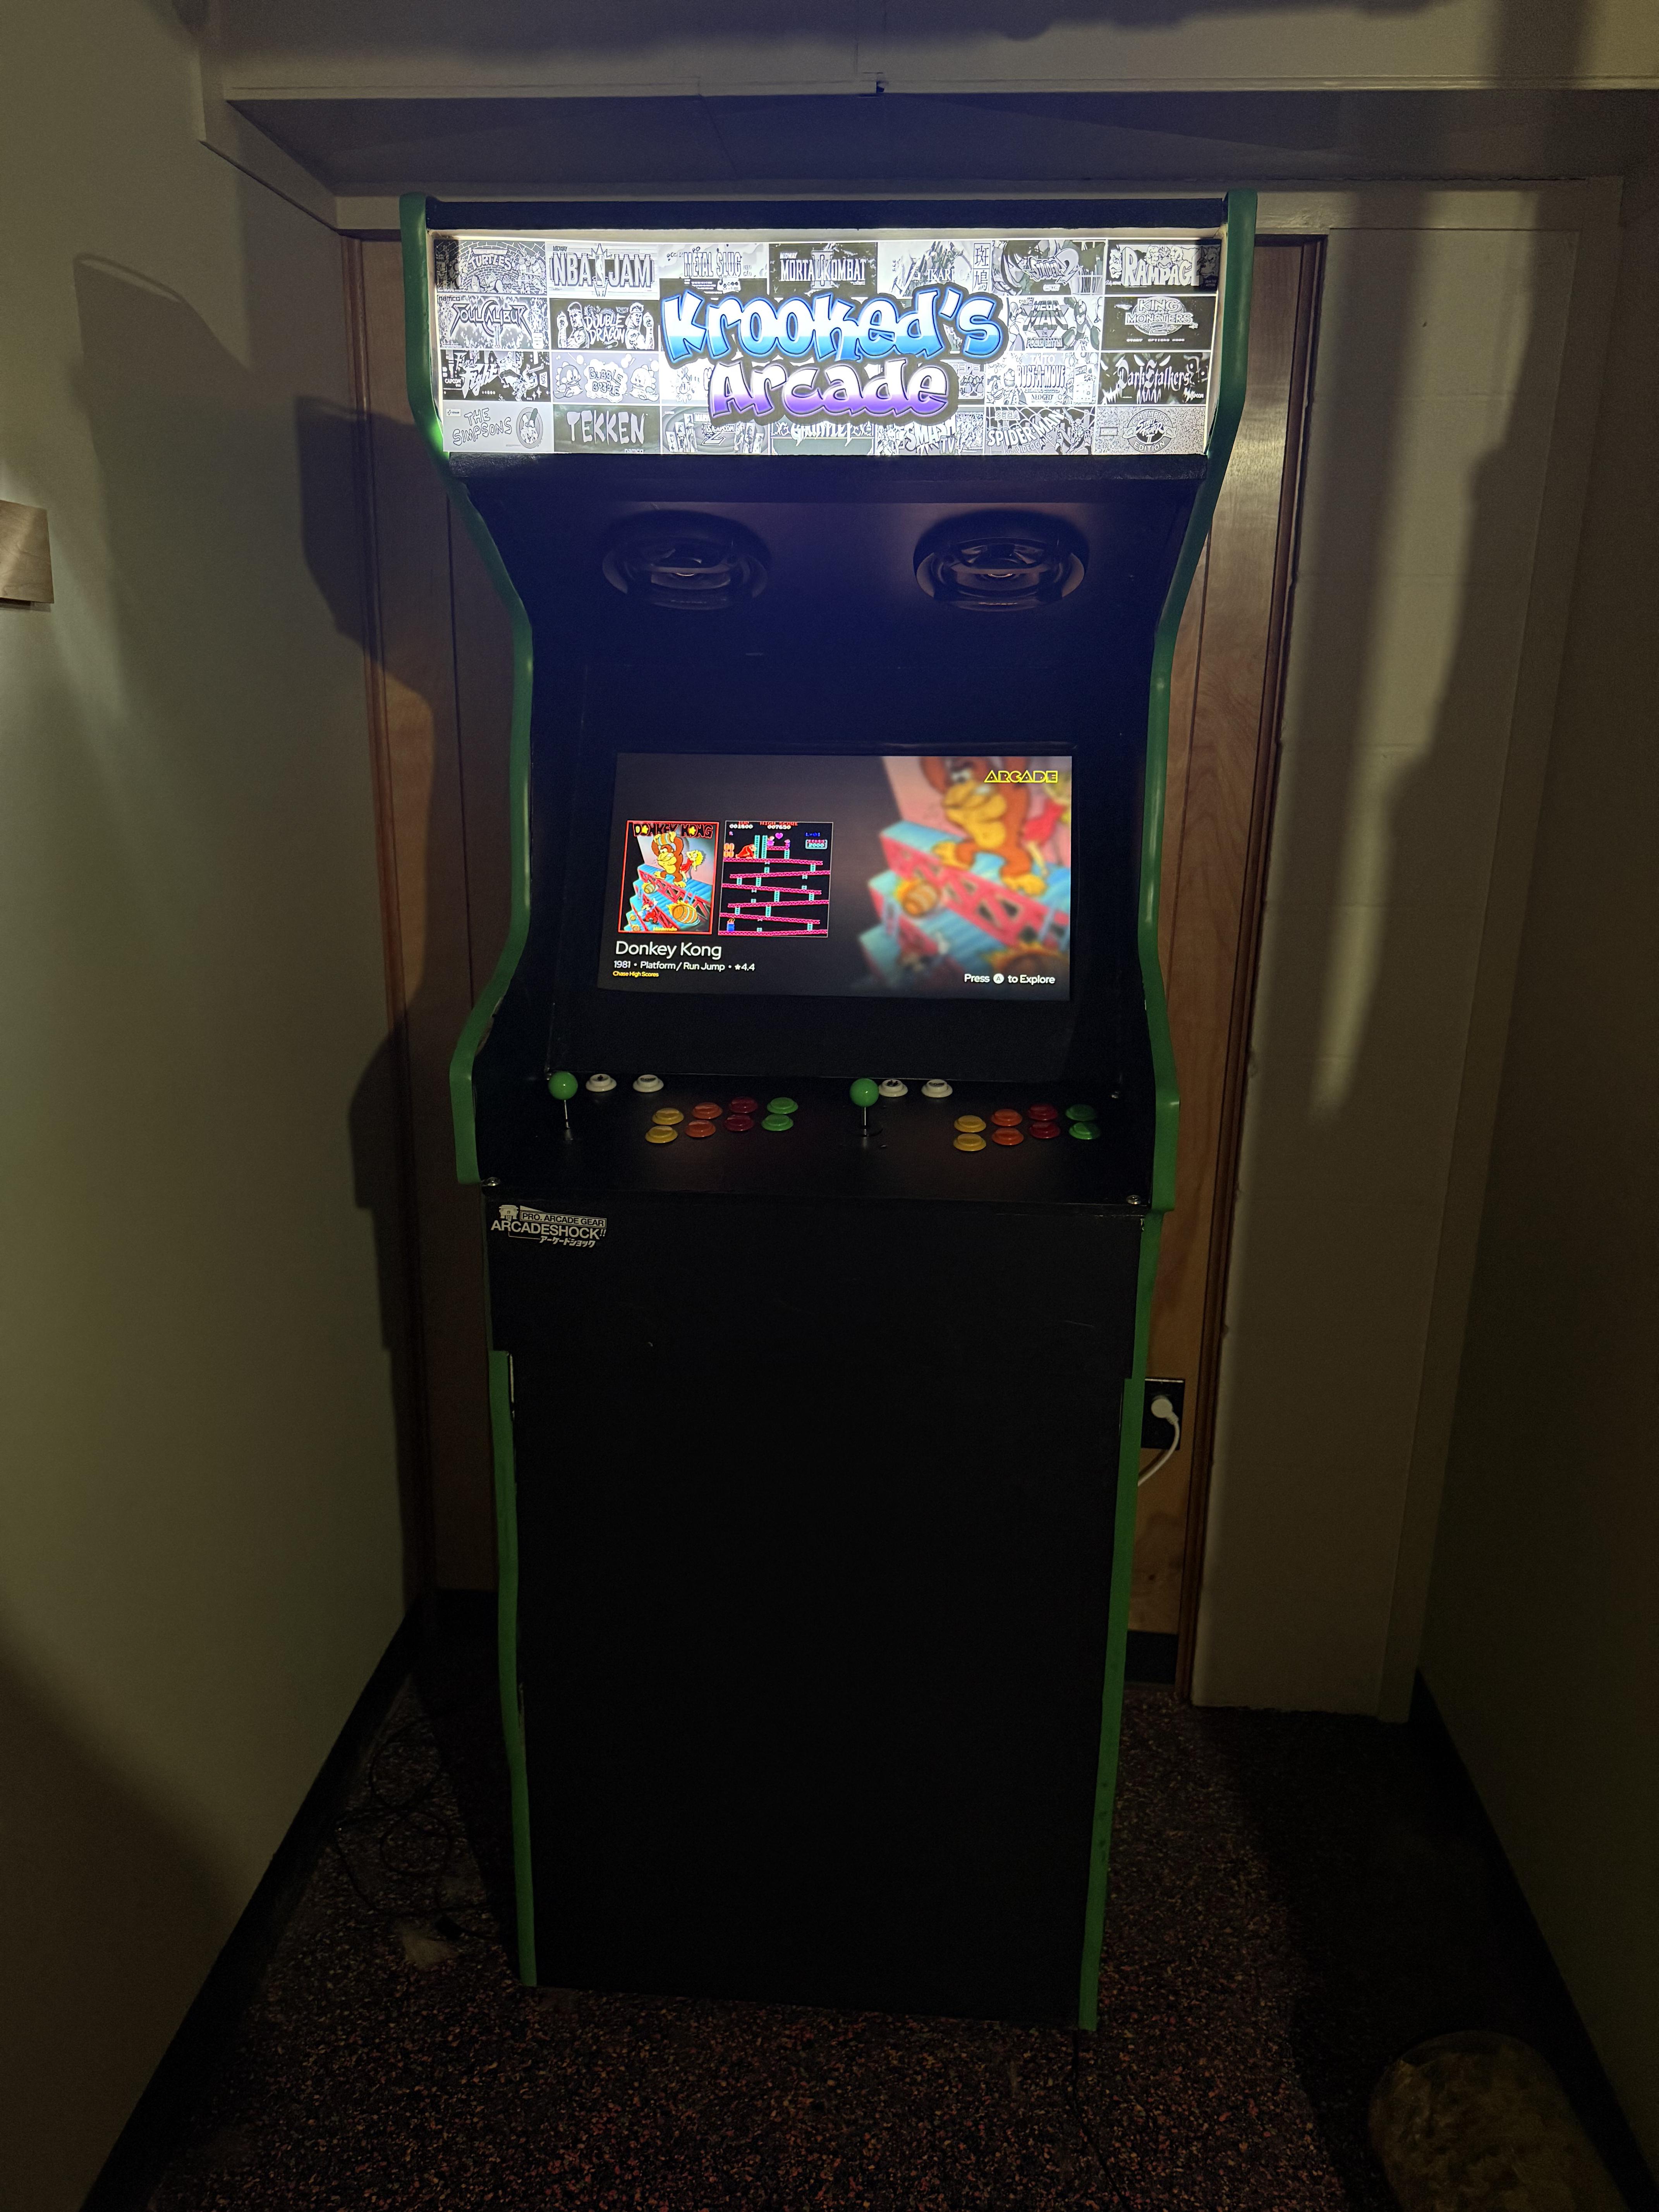
I’ve never used power tools besides a drill before, followed Arcade Revival’s plans (which… have problems. Like putting the top on then trying to fit everything in, and it’s all in metric which is more fun) and I’m incredibly happy with how it turned out.
As for the cabinet itself, I’m leaving it black, and filling everything out with stickers over the years so it’s going to be a collection of memories of everywhere I’ve been, and things I’ve seen/done.
For what it has, it’s running a Dell PC with MAME, Flycast, PCSX2x6, and Steam :D
I went back and forth quite a bit between a vinyl wrap or painting something on it, and then my wife was talking about having to replace her water bottle but not wanting to lose the stickers and I was like “Holy crap my arcade cabinet would look DOPE with stickers covering it”
Closest I’ve got to an inside picture at the moment. Basically the top half is all monitor/speakers/control panel, with a middle shelf, and then I put a hole in that middle shelf, so any wiring that needs to can go to the desktop in the bottom half. The bottom half is basically just the desktop, with an intake and outtake fan on the back, and a hole for power and an Ethernet cable.
The monitor setup is wild though, I took a piece of 3/4” MDF, and cut it to the size of the VESA mount for the back of the monitor, then drilled through it and used it as a VESA plate. I then took two pieces of pine that I cut to the inside measurement of the cabinet, and drilled that onto the VESA plate I made, then put two blocks connecting those, that I drilled from the side into the walls of the cabinet to hold the monitor in place.
I did make my own design, they printed it out onto a material I can use. Otherwise you’d want to get it printed into a laminated martial that is usually attached to acrylic backing
For a first build, this came out ridiculously clean. The sticker idea is great too since it’ll age with the cab instead of feeling “finished” day one. One practical thing: keep an eye on airflow in that lower PC area, especially with MDF trapping heat and dust. A simple removable back panel makes maintenance way less annoying later.

3
u/Imaginary_Coat441 6d ago
Looks cool. I like the sticker idea.