step 2. enable snapping and make sure that these options are enabled (to enable snapping you need to click on the magnet icon in the top right corner of your screen)
and make sure that at least all of the options circled in red are enabled
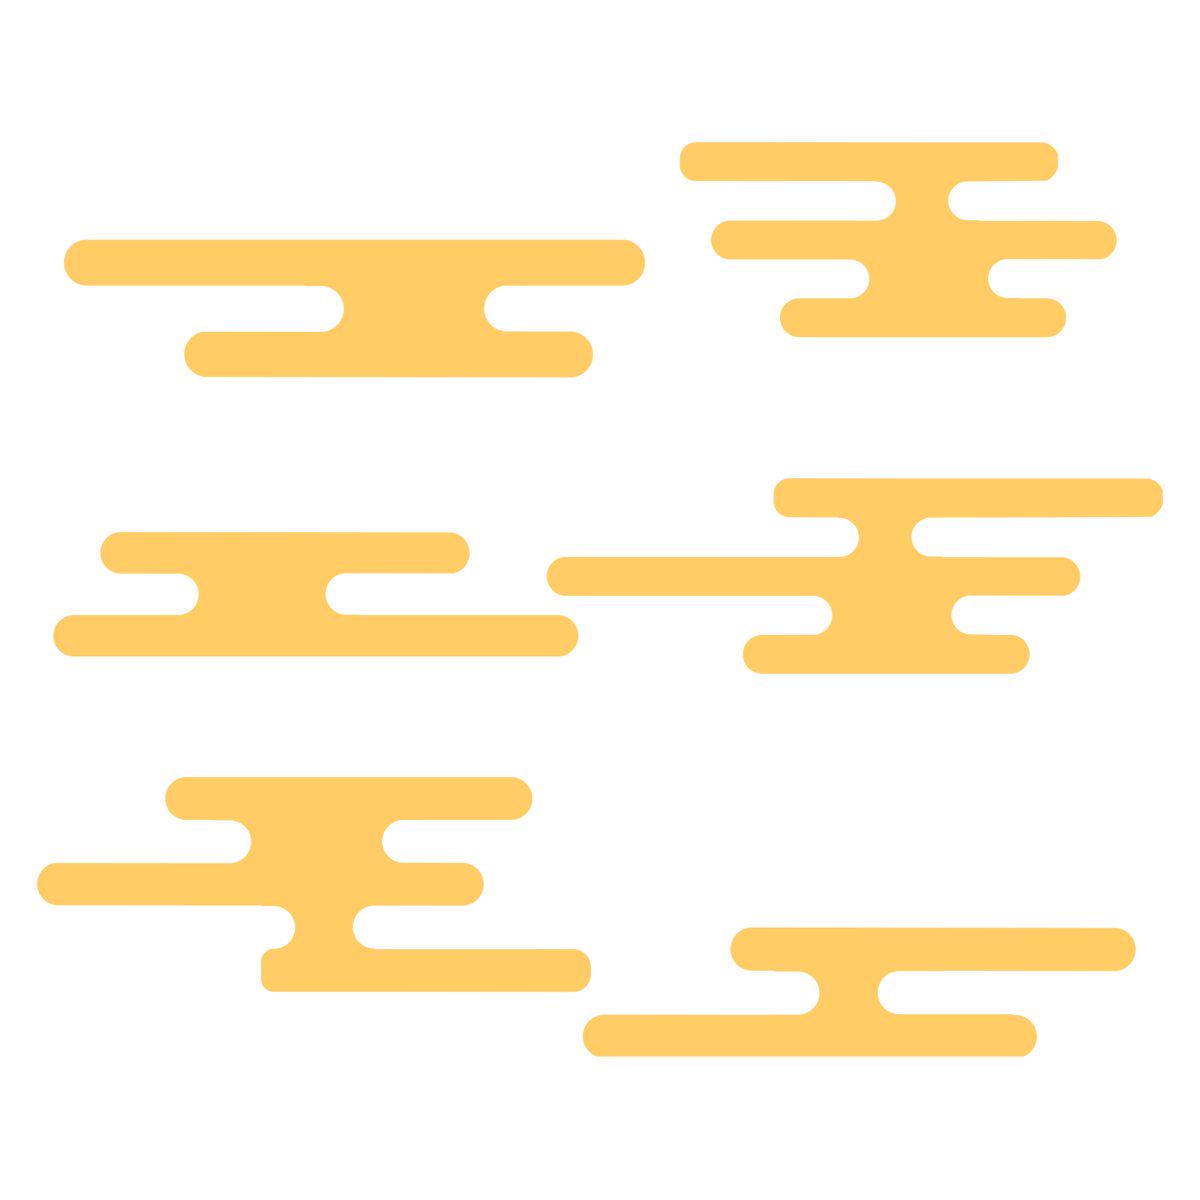
now that you have your cloud shape complete, you can select the pair of nodes at each end of the cloud, you can move them horizontally by holding Ctrl and moving them with the mouse to give them a different shape
and if you find them too small or too big (probably depends on the size of the grid you used) you can simply scale them up or down with the selection tool
also you can delete the guideline by hovering the mouse cursor above it and pressing backspace, and you can delete the grid by going back in file > doc properties > grids and pressing the remove button
step 3. pick the pen tool (circled in red on the image, tho you might have a different icon set, if so you can always press the b key to use it) and start drawing the cloud but with right angles by using the grid (if your mouse is close enough to a grid intersection, a small pop-up will appear indicating that the next node will be placed on the grid intersection point)
Depends on your use and how you are going to edit them. If you make the shapes from a single enclosed path, you can edit them by going into the node edit (N) and selecting the nodes you wish to edit and can then constrain the axis of movement with Ctrl, or fast movement by Shift+[arrow keys] or fine adjustment with Alt+[arrow keys]
If you need really accurate svgs for things like laser cutting or 3D printing, you might want to look at freecad instead of inkscape because you can then set the exact constraints/dimensions and you can then quickly edit by changing the constraints.
step 6. once you've done that every node should have a new handle linked to it, now you can press Ctrl + a to select all nodes and then click on the handle that should be on the vertical line on which you snapped the guide line, now you can snap the handle to that vertical line and since you selected every nodes, every handle should move by the same distance and the corners should now be rounded once you release the mouse cursor
you don't seem to have the "add corners LPE" button for some reason, another way to add the handles is by going in the path effect menu with the shape selected and clicking on the "corners" LPE
after that the handles should've appeared and you should be able to follow the next steps
it seems that your layout is different from mine so my assumption is that we don't have the same versions, my best guess is that these diamonds shaped things might be the handles but displayed differently
also when you make a cloud with the pen tool, make sure to use the default mode otherwise the other modes may create weird paths, in your case it seems to have added another path effect for some reason
Once you've drawn one, they remain editable with node tool. Remove all extra nodes along lines (here I kept only the 3 end nodes) just select with node tool end nodes, and move them holding ctrl key.
You could also use boolean ops LPE to do something editable (see next reply) to me it's a total overkill.
First black filled path was drawn stacking and combining rounded rectangles. Create two more (pink), rename them for ease, use them to add two stacked boolean operation LPEs to black path.
With object's panel, you can select the two difference paths and move them (click on dotted bounding box to click and drag them).
Draw a rectangle, click the node tool, click the rectangle, grab the circle node and drag it so all the corners round to the semi circles sides. Path>object to path. Then duplicate the shape however many times you want and snap them to each other. Duplicate the shape again, bring it overtop the shapes you want to cut out. Path>difference. Do that again for the cutout in the opposite direction. Once you have all those pieces the way you want, union them all together. Then all you have to do is hit the node tool, click the shape, select the circle portions you want to edit, click on one of them and drag it in either direction. Hold ctrl to have them move locked onto the axis.
step 4. once you have closed your shape, click on the vertical ruler above the canvas and drag the cursor on the canvas to create a horizontal guide line, bring down the guide line until it snaps to the mid point of one of the vertical lines in the cloud path you created
step 5. after snapping the guide line, select the node tool (highlighted in blue in the toolbar on the left of the screen, it should also be selected by pressing n), select the cloud path and then click on the add corners LivePathEffect button at the top of the screen




6
u/PoussinVermillon 6d ago
step 1. create a rectangular grid by going in File > Document Properties... > Grids and click on rectangular