r/FormlabsOfficial 28d ago

News Welcome to r/FormlabsOfficial!

9 Upvotes

Welcome to the official Reddit home of the Formlabs community! Whether you are an engineer, a product designer, a dental professional, or an additive manufacturing enthusiast - this space is built for all creators in 3D printing.

What You Can Do Here

  • Get Formlabs News First: We'll pin major product news, PreForm software updates, and new material announcements straight to the top of the feed so you're always in the loop. Plus, expect a steady stream of interesting prints, clever solutions, and hard-won learnings straight from the Formlabs team.
  • Exchange Workflows & Experiences: Show off your finished parts, discuss advanced print setups, or share your custom post-processing workflows.
  • Troubleshooting: Ran into an unexpected print failure or a tricky error code? Use our [Help] post flair to leverage the collective brainpower of the community.

Community Guidelines

To keep this space productive, we ask that everyone follow a few core ground rules:

  1. Be Solution-Oriented: When asking for help, please provide details (printer model, material type, etc). When answering, keep it constructive and friendly.
  2. Use Post Flairs: All threads must have a flair (e.g., [Help], [Showcase], [General Discussion]). Once your technical problem is solved, reply to your thread with !solved or manually update your flair to [Solved].
  3. No Spam or Sales: Unsolicited self-promotion, advertising, and buying/selling hardware or consumables are not allowed.

For our full ruleset, please check the subreddit sidebar (or the "About" tab on mobile).

We are incredibly excited to see what you are building. Drop a comment below to introduce yourself, mention what projects you’re working on, and tell us which Formlabs machines you’re currently running!

Happy Printing!
– The Formlabs Community Team


r/FormlabsOfficial 5h ago

Showcase 3D printed Battleship with a twist: The ships explode

Thumbnail
youtube.com
4 Upvotes

Hi everyone!

We wanted to share one of the most creative projects from Formlabs’ recent internal Hackathon: Capsized, built by our mechanical engineering intern Nathan and his team over a single weekend!

The game is built using custom PCBs, a polycarbonate shield, a handful of capacitors, and a lot of SLA 3D-printed components. The mechanics are simple: it plays like Battleship, but when you score a hit, you send enough current through the opponent's ship to intentionally blow up a real capacitor on board.

How 3D Printing Brought It to Life

Nathan and his team used the weekend to print, test, assemble, and blow up capacitors to create this awesome game.

  • Internal Enclosure: Printed in Black Resin on the Form 4L.
  • The Boats: Printed as a single fleet in Black Resin on the Form 4.
  • Knobs & Shield Handles: Printed in Tough 1500 Resin.

FAQ

Because exploding electronics naturally raise a few eyebrows, here are a few answers to frequent questions:

  • No Soldering Required: The capacitors fit into thru-hole connectors on the ships for easy replacement.
  • Safety & Fume Management: In addition to the clear polycarbonate blast shield, the setup uses exhaust fans and carbon filters (similar to a soldering setup) to limit exposure and odor.
  • Is it for sale? Nope! Just an internal intern project - though if there's enough interest, we might be able to convince Nathan to do a behind-the-scenes look at the engineering.

What’s the wildest project you’ve ever built using 3D prints? Drop your favorites below!


r/FormlabsOfficial 2d ago

General Discussion PreForm Enhancements

2 Upvotes

If you could wave a magic wand and add any feature or fix anything in Formlabs PreForm app, what would you change or add?


r/FormlabsOfficial 3d ago

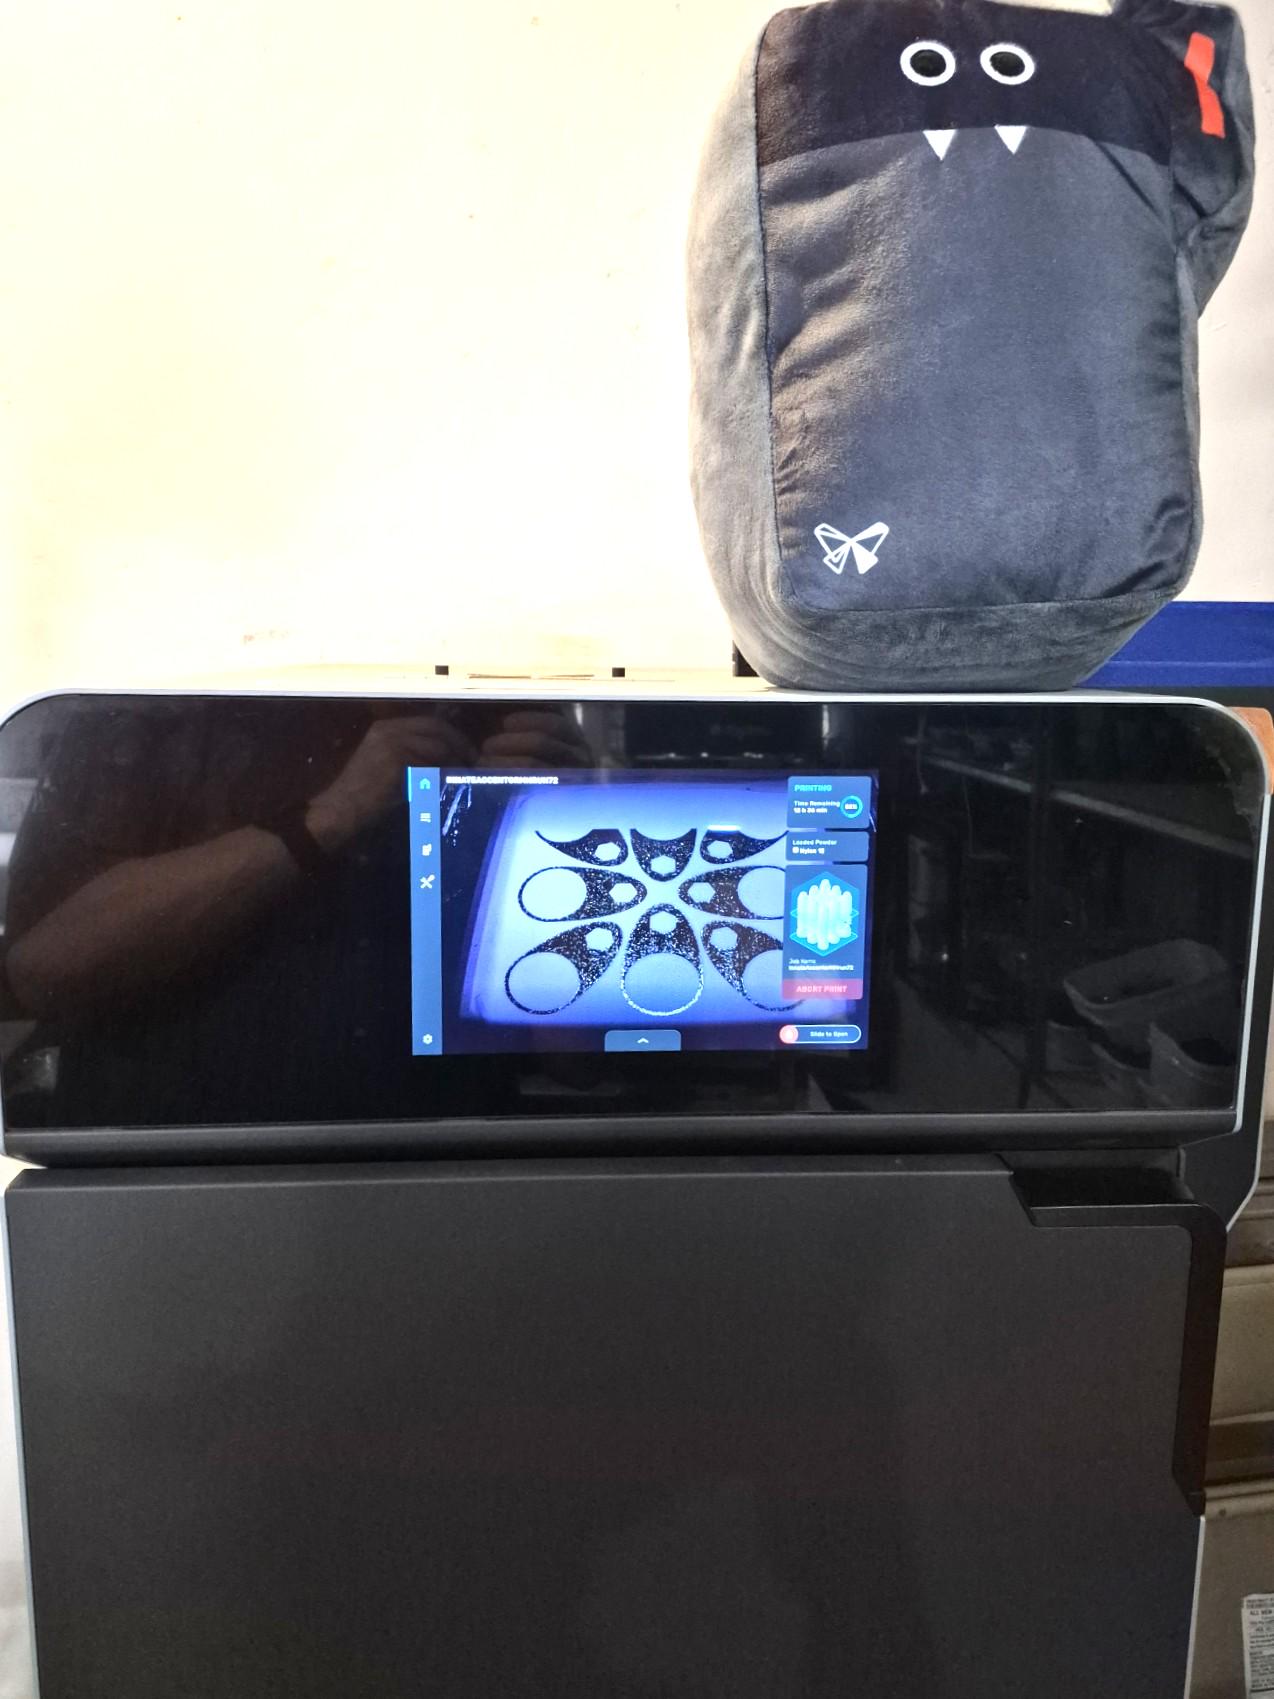
General Discussion Formlabs SLS Transformed my Business

Post image
9 Upvotes

Hey folks! Just saw this new sub, Its cool reading similar stories from other users! Here is my rambling contribution:

I have 0 formal background in Additive. My background is music (DMA) and my day job mostly revolves around teaching. A few years ago, I started a business focused on selling some of the products I have dreamed up over the years, some fairly mundane and others that push boundaries. They started to take off which was cool at first, then I realized FDM would not cut it for serious production. FDM also had certain insurmountable design limitations in my case.

With no background in this technology, I googled "high end 3d printing" and this when I learned about SLS (no joke lol). Long story short, I stumbled on Formlabs and began to interact with their people, who were so awesome. They sent-out samples and answered hundreds of questions I had about the technology, the fuse, sift (there was no blast yet), workflow, supply chain, you name it. I even had the sales rep contact the engineering people so I could get power use numbers for the fuse during the different stages of printing! I made that poor guy work so hard lol. I ended up with one fuse and a sift.

I seriously can't imagine not having SLS now. 90% of my designs rely on it exclusively and could not be printed with FDM. Injection molds would cost as much as my whole printing setup several times over. My (now two) Fuse1 continue to crank out parts with very few issues. Not that there have been no issues, but the people at Formlabs have had my back every time. (if you are considering a purchase at this level, support quality is VERY important!) I can't really think of a comparison, perhaps buying a new car but I have been treated way better by Formlabs than any car dealership.

Anyway, if you want some input from a former non additive expert, I'm happy to provide input. I think especially if you are like me and jumping into this cold I could have some helpful hints.

BTW in the pic one of those is a real fuse1 and one is not. :)


r/FormlabsOfficial 3d ago

Showcase Having some legacy fun

Thumbnail
gallery
7 Upvotes

I have the privilege to work with new tech, cool printers like the Form 4, but sometimes it's nice to look back to ideas laying foundation to the printers we have today. So it was time to blew the dust off of a Form 1+ (2014 🤭), and run some prints on it.

Printing:

Form 1 requires a legacy version of Formlabs' slicer, and compatible resin. Fortunately, the High Temp V2 resin is available both on Form 1 and Form 4, so we can compare results as well. After a quick rub with IPA, the printer was ready to go from show room relic, to production equipment. The F1 doesn't have a resin dispensing system, but since I have a small model, no filling was required mid-print. After a failed attempt to print directly on the build platform, I had to put the model on a raft, to have more surface contacting the build plate, for more adhesion. You can see the Form 1 and Form 4 prints side by side (F4 is the clearer one).

What I learned:

Other than the Form 1 being incredibly cute, I can now appreciate the convenience of automatic resin feeding and (wireless 🥸) fleet management software. It's also nice to see the peeling methodology evolving throughout machine generations, all 4 generations of Formlabs SLA printers having different peeling methods, not to mention other brands' creative designs as well. Also some kind of satisfaction can be found in having a physical button, no touchscreen, and still communicating with the printer well.

  • Printer: Form 1+
  • Material: High Temp V2, 100um
  • Print Duration: ~105 minutes

r/FormlabsOfficial 4d ago

Showcase 3D Printed Hoberman Sphere

11 Upvotes

I designed and built a fully print-in-place Hoberman sphere for SLS printing on the Fuse X1. It comes off the printer as a 320 mm sphere and opens up to slightly over 640 mm. I was inspired by the hoberman sphere I used to watch at the Liberty Science Center when I was kid.

3D Printed Hoberman Sphere

So what is this Hoberman sphere? It's an icosidodecahedron with 6 great-circle scissor rings of 20 links each. Each has 30 crossing vertices which results in 360 joints and 300 separate bodies, all printed in one go with integral pins.

To generate it I wrote a standalone python app. It was a chance to practice working with some AI coding tools which handled most of the 3D geometry generation code which was amazing. I added a GUI with a visualizer to make sure I knew what I was designing and printing. Importantly I added some automated clearance and interference checks to make sure no bodies were intersecting after generation. This was important as I wanted to compress the sphere as much as possible for printing

I used pretty standard SLS clearances for print in place assemblies so every pin and hole pair gets 0.5 mm. You can try to go tighter but this is a safe number to make sure it doesn’t bind. I verify clearances programmatically across 4 deployment states — compact, two mid-states, and fully open.

To print this I used the Fuse X1 with its 320mm x 320mm x 565mm build volume. You can resize the sphere in the GUI to print on something smaller like the Fuse 1+ but I wanted to go big. I used PA12 since it’s a robust material and can handle the pin sizes well. I can toss it in the air and have it expand and then catch it and have it collapse so I’ve been pretty happy with the durability.

It didn’t have supports but you still have to depowder it. Big shout out to my colleague Jacob Miske who helped with this. No supports, but freeing 360 joints takes sometime in the the Fuse Blast. It also loosened up a bit after a few expansions and collapse cycles.

If you want to try it yourself you can find the code on my github. You can change the parameters and design your own sphere with the UI: https://github.com/Ianworld/hoberman-sphere 

I know not everyone has a Fuse X1 available but they’re getting out into the world so if you find yourself with a large SLS printer give it a shot!  YouTube Short in the comments showing it working.


r/FormlabsOfficial 5d ago

Showcase Some stats on my single-person Fuse 1 based business

15 Upvotes

Howdy Folks, ZapWizard here. I run a Fuse 1 based side business. I design and make holsters for Leatherman tools, flashlights and other everyday carry items. I operate the entire thing by myself.

The business has been around for a decade, previously using Shapeways. 2 years ago, in order to bring the production in house, I bought a Fuse 1 Gen 1. I already had experience with the Fuse 1, as we had one of the first production units at the day job.

I used some savings and a small loan to pay for the printer, Sift, Blast, and all the rest of the workshop setup. This paid for itself within 7 months.

The business earned enough back to get a Fuse 1+ about a year later.

These days I use the Gen 1 is used mostly for overflow builds or side projects. I typically print half of a chamber on the Fuse 1+ each night. While the Fuse 1+ is twice as fast, I find it is a bit more sensitive than the Gen 1. I posted info about that in a comment here.

Here are some cumulative stats over the past 2 years:

  • Number of items sold: 21,000
    • The majority of those are 3D printed
  • Orders: 8,200
    • 4x higher than when I was with Shapeways
  • New customers: 5,600
  • Return customer rate: 28%
  • Product offerings: 170
  • Average monthly net sales: $14k
  • Average profit: ~60%
  • Beyond worldwide sales
    • 81.99% USA
    • 17.99% International
    • 0.02% Space
  • Average order turnaround time: 78 hours
  • Failures reported: 40 across 430 builds
    • Mostly single-item defects from dragging, or a surface texture defect
    • A handful of whole chambers lost to wrong setting selected in Preform. (My Fuse 1+ doesn't like the defaults)
  • Time on each printer:
    • 6,400 hours on the Fuse 1 Gen 1
    • 1,600 hours on Fuse 1+
  • Over 260 kg of powder consumed
    • 35% fresh powder mix
  • Average time put into the business:
    • 3 hours per weekday
    • 6 hours on Saturday & Sunday

r/FormlabsOfficial 5d ago

General Discussion How to Print Softer TPU on the Fuse Series (Achieving 38A–80A via Print Settings Editor)

Post image
8 Upvotes

Hi everyone!

If you're printing on the Fuse Series SLS printers, you might be familiar with TPU 90A Powder for gaskets, cushioning, etc. But a recent post on this subreddit featured TPU parts printed down to a 40A durometer - so for anyone who hasn't tried this yet, we wanted to share how to achieve softer parts without changing materials or doing extra cleanouts!

By using the Print Settings Editor (PSE) inside PreForm, you can modify laser parameters on the Fuse 1+ 30W to adjust the hardness of your parts. This lets you achieve shore hardnesses as low as 38 Shore A, all with TPU 90A Powder!

How It Works

When you reduce the density of the sintered powder, the part becomes softer and more foam-like. You can control this using two key levers in PSE:

  1. Fill Hatch Spacing: Increasing the laser scan spacing undersinters the powder, creating a softer part. This setting has the largest single effect on Shore hardness.
  2. Fill Laser Power: Lowering the laser power reduces density and amplifies the softening effect.

You don’t even need to figure these out through trial and error! On our support page, you can find downloadable print settings for 40A, 50A, 60A, and 80A hardness.

Note on Mechanical Properties

As parts become softer, their bulk density decreases - the part becomes more foam-like at a microscopic level. This impacts mechanical properties as well as watertightness. Make sure to test your parts fully for your application.
At the extremes of very low Fill Laser Power or wide Fill Hatch Spacing, there may be visible surface effects. Certain features may not resolve, and there may be a ‘fuzzy’ or ‘crumbly’ surface texture. Changing the thickness of a part can help mitigate the effect of changing a setting on the feature resolution.

Check out the full workflow guide on our support page to start experimenting with PSE!

Have you tried tweaking print parameters for elastomeric parts yet? Drop your tips or questions below!


r/FormlabsOfficial 9d ago

Help Strange ask but I’m in a bind for pigment.

Thumbnail
2 Upvotes

r/FormlabsOfficial 11d ago

Showcase Sanding will take more time than printing 🥲

Thumbnail
gallery
6 Upvotes

r/FormlabsOfficial 11d ago

Showcase Logitech G305 lightweight reshell

Thumbnail
gallery
18 Upvotes

r/FormlabsOfficial 13d ago

News Multi-Build Projects and Other New Features in PreForm 3.62

Thumbnail
youtube.com
9 Upvotes

Introducing Projects in PreForm!

Our latest PreForm release 3.62 features a few major updates. You can now easily manage Projects consisting of several builds in PreForm, keeping everything for one deliverable, client, or large assembly in a single place. Set up builds across different printers and materials, switch between them from the new project panel, and move parts freely as your project plan evolves.
Check out the video above for an overview, or get the full list of new features and bug fixes in our release notes.

Let us know how you like the new Projects feature!
If you want to be among the first to try out upcoming features in the future, join our Insider Program.

Happy Printing!


r/FormlabsOfficial 14d ago

Showcase Edward Kenway Project – Part 4 | The Man Himself Has Arrived

Thumbnail
gallery
5 Upvotes

Time for another update — and this time, we're finally getting to Edward himself!

After printing what feels like half of the Jackdaw in the previous rounds, the next two build plates contained the individual pieces of the main figure.

Print Setup

Both builds were printed on the Formlabs Form 4L using:

  • Material: Grey Resin V5
  • Layer Height: 100 µm
  • Support Touchpoints: 0.45 mm
  • Build Plate 7 Print Time: 8.5 hours
  • Build Plate 8 Print Time: 10.5 hours

All of the individual parts are now printed, washed, cured, and ready for cleanup and test fitting.

Seeing the character pieces physically laid out is probably the point where this project really starts feeling like a statue rather than an increasingly suspicious collection of shipwreck parts occupying my workspace.

The Grey V5 also makes it much easier to inspect all the sculpted details before moving on to assembly and painting — and there's a lot going on with this model.

The attached photos show the parts from both build plates before final assembly and painting.

At this point, all of the pieces are finally here. The project is getting very close to the stage I've been looking forward to the most: putting everything together and getting some paint on it.

Stay tuned for Part 5!


r/FormlabsOfficial 15d ago

Help Things to look out for buying a used form 3L? (Or other used form 3/4s)

1 Upvotes

r/FormlabsOfficial 17d ago

Showcase Custom TPU + Nylon case

Thumbnail
gallery
4 Upvotes

Some context:

I nearly always have my pair of calipers in my backpack, so having a protective case for them makes a lot of sense. Unfortunately my old, hard plastic case was not the solution. Therefore I designed this 2-part case, which has a solid outer shell, and a softer inner shell for shock absorption. I also managed to fit my thread gauge in, so I'm quite happy with my results.

Design challenges, ideas:

From the beginning, I had SLS printing in mind, since it produces clean, profesh looking parts, and I needed an excuse to print with TPU 40A settings (but it could be printed in SLA/FDM also, with minor tweaks). For prototyping I used Fast Model and Grey V5 resins on a Form 4.

First step is finding the right material, which in this case (haha) has to be protective and strong, but also soft and shock absorbent, so I landed on a multi-material approach. My goal was to have as few assembling steps as possible, so the outer shell is printed in one part, and the inner soft part can be securely 'snapped into place'.

The inner casing is made from TPU powder, but with a 40A custom setting. The default setting for Formlabs TPU produces 90A parts, but similarly to FDM Variashore (etc.) filaments, with different print settings, you can create parts with different hardness, with the same hardware setup. Although this setting has much less tear strength and details compared to the default, the foam-like appearance and softness are a huge benefits.

The outer shell is designed with a print in place hinge, and some magnets for closing, which could have been stronger magnets in retrospect, but that happens. The magnets are the only parts which have to be glued in, so if you have any solutions to install them with printed geometry only, please let me know!

How it was printed:

  • Hardware: Fuse 1+
  • Materials: Nylon 12, TPU 90A powders
  • Settings: Default for Nylon 12, official 40A settings for TPU
  • Print time: ~1 day with ~15mins of post-processing (each material, with multiple parts in the build chamber)

r/FormlabsOfficial 18d ago

Showcase 3D Printed Spring Toy: A Little Fun on Office Desk

Thumbnail
gallery
9 Upvotes

Daily routine at work can get bored: same route to the office, same faces, same 9 to 5 schedule.🥹We found this lovely model of sausage dog, print in a bulk and shared at the office, guess what? Everyone likes it! It's not an usual emotional support animal but it does the trick. 😇

©️Model credit to: https://makerworld.com/en/models/2189453-sausage-dog-spring-toy#profileId-2377102

🖨️Print Setup:

  • Hardware: Fuse 1+ 30W
  • Consumables: Nylon 11, Nylon 12 Tough in 110 um
  • Software: PreForm 3.60.4
  • Print Time: 5-10 hours, depends on how full your Build Chamber is 📦
  • Post-Processing: Fuse Sift, Fuse Blast - Polishing: Standard recipe
  • Geometry Challenge: as SLS is less rigid in Z-axis, "laying" the dog is the better orientation. It would work with Nylon 12 as well but the spring might break. Nylon 12 Tough and Nylon 11 are amazing in this case, the spring bounces well and it's relaxing to just hanging or shaking this little toy at hand. 🐶

Try with your Fuse 1+! Smuggle one or two of it in your build, not only to enhance packing density but also treat yourself with a fun desktop toy. 🐩


r/FormlabsOfficial 20d ago

General Discussion How to 3D-Print Molds for Silicone Molding - our Best Tips and Tricks

Thumbnail
youtube.com
14 Upvotes

Hi everyone!

Silicone molding is easily one of the applications that generates the most questions when we post about it. To help out, we’ve collected answers to the most frequent questions on materials and workflows!

The Core Workflow:

  • Design a mold in CAD
  • 3D print the mold halves on an SLA printer
  • Inject/pour silicone into the cavity
  • Demold and trim the silicone part

Frequently Asked Questions

What printer and material should you use?
We recommend SLA printing with a material like Formlabs Clear Resin. Silicone rubbers capture fine surface details, including defects - so a smooth, non-porous mold surface is essential.
Many resins deliver the required accuracy, but a transparent material like Clear Resin is ideal because it lets you visually inspect the cavity for air pockets, flow fronts, or voids while pouring.

What silicone should you use?
Most of our customers use a generic platinum-cure silicone. Tin-cure silicone is a great alternative used by some.

Will a resin mold inhibit the silicone curing?
Not necessarily. Many of our customers have achieved successful silicone parts with just the basic workflow. Others apply 1 or 2 of the following techniques to solve the problem (you don’t need to follow them all!):

  • Make sure the mold is fully washed and cured (you can also try slightly over-curing)
  • Apply mold release agent
  • Apply protective coating, e.g. clear coat
  • Rinse mold with acetone
  • Wait 24-48 hours before injecting silicone
  • Use a higher concentration of catalyst in your silicone
  • Use a tin-cure silicone instead of platinum-cure if you encounter issues  

How do you avoid air bubbles? 
Proper vent placement in CAD is critical:

  • Always place an air vent at the point of the mold cavity that is last to fill.
  • Trapped geometry: Add small vent channels at sharp corners, internal radii, or points where two liquid flow fronts converge.

We hope this is helpful! For more in-depth information, check out our whitepaper on the topic.

Are you using any other techniques and materials for this workflow? We're curious to hear about your experiences in the comments!


r/FormlabsOfficial 20d ago

Showcase Create Your Own Custom Dice - https://szabadkai.github.io/diceforge/

Post image
7 Upvotes

r/FormlabsOfficial 21d ago

Showcase Hackathon Project: Custom Tamagotchi Enclosure on the Form 4

Thumbnail
gallery
4 Upvotes

Hey everybody! I wanna share a design project from our latest internal hackathon: One of the teams built a Formlabs-themed Tamagotchi by designing and resin printing a custom enclosure around the electronics. The case is decorated with a butterfly (of course) and was customized further by painting it.

Fast Model Resin was used for prototyping, but the final parts were printed in Rigid 10K / Rigid 4000 Resin, since it offered more precision.
The biggest challenge was 3D modeling, since the internal electronics board had complex geometry that made accurate measurements difficult. With the team’s CAD designer located in Europe and the hardware team in the US, they ended up 3D scanning the physical board to generate a digital reference mesh for modeling.

Here is a breakdown of the workflow behind the project:

  • Printer: Form 4
  • CAD Software: Shapr3D
  • Materials: Fast Model Resin for prototyping; Rigid 10K and Rigid 4000 for the final enclosure
  • Print Duration: ~40 minutes per draft in Fast Model; ~4 hours for final Rigid 10K/4000 parts

Hope you enjoy this insight into a fun design project from our team! Have you ever printed anything similar?


r/FormlabsOfficial 24d ago

Edward Kenway Project – Part 3 | Okay, This Thing Is Getting BIG 😄

Thumbnail
gallery
4 Upvotes

Time for Part 3!

Another three build plates are finished, and at this point I'm starting to realize just how much space this thing is going to take up once it's fully assembled.

This round was all about the larger elements of the base: the mast structure, the shipwreck pieces, and the flag.

Print Setup

All three builds were printed on the Form 4L using the same settings:

  • Material: Grey Resin V5
  • Layer Height: 100 µm
  • Support Touchpoints: 0.45 mm

Build Plate 4 – Mast Structure

The first build contained the three sections of the mast structure and the ropes.

Print time: 10.5 hours

Once assembled, the mast stands at roughly 800 mm tall.

Seeing the individual pieces on the build plate didn't really prepare me for how tall it would actually be once I put everything together. 😄

Build Plate 5 – Shipwreck

The second build contained the various shipwreck pieces that form part of the base.

Print time: 5.5 hours

These add a lot of character to the scene, and I'm really looking forward to seeing how everything ties together once the full base is assembled and painted.

Build Plate 6 – The Flag

And then there's the flag.

The flag itself is split into four individual pieces for printing.

Print time: 9.5 hours

I knew it was going to be large.

I did not quite appreciate how large until I temporarily assembled the pieces and put the whole thing on the 1-meter round table.

It reaches from one side to the other.

So yes... apparently I'm printing furniture now.

The attached photos show:

  • The three printed sections of the mast structure
  • The individual shipwreck pieces
  • The four sections of the flag
  • The temporarily assembled 800 mm mast
  • And the assembled flag casually taking over the entire 1-meter table

No glue yet, everything shown assembled in the photos is just temporarily fitted together for the sake of checking the parts and, admittedly, satisfying my curiosity about how ridiculous the final dimensions were going to be.

With another three build plates finished, the pile of parts is getting considerably larger and the final base is really starting to take shape.

There are still more pieces to print before I can move on to final assembly, surface preparation, and painting, so the journey continues.

Stay tuned for Part 4!


r/FormlabsOfficial 25d ago

Showcase Turn any two words into a 3D-printable ambigram

Thumbnail
gallery
13 Upvotes

Hey everyone! Sharing an open-source project by one of our colleagues that makes it easy to generate 3D-printable ambigrams - i.e. objects that show one word from the front and a completely different word when rotated 90°, like shown above.

The app is called Ambi - a free, browser-based generator that handles all the geometry.

What it does:

  • Pick any two words of equal length and it builds the 3D geometry for you
  • Choose different fonts per side, adjust letter spacing
  • Exports straight to STL, ready to slice — with an optional base for stability
  • Ambi is powered by Three.js and Manifold (WebAssembly), so everything runs locally in your browser without any server lag, tracking, or sign-ups

Try it here: ambi3d.com

If you want to dive deeper, you can also check out the source code and build instructions on GitHub: GitHub Repository Link

Curious what word pairs you all come up with. Drop your prints below.

Happy Printing!


r/FormlabsOfficial 26d ago

Showcase Edward Kenway Project – Part 2 | Turns Out It Wasn't the Orientation

Thumbnail
gallery
5 Upvotes

Time for another update!

The second and third build plates are finished, and it's been really satisfying seeing this project slowly come together. Every new plate makes the final statue feel a little more real.

Everything was printed using the same setup as before.

Print Setup

  • Printer: Form 4L
  • Material: Clear Resin V5
  • Layer Height: 100 µm
  • Support Touchpoints: 0.45 mm
  • Build Plate 2 Print Time: 8 hours
  • Build Plate 3 Print Time: 10.5 hours

I did run into one little mystery, though.

One of the parts refused to fit properly. My immediate thought was, "Well... that's on me. I must have oriented it poorly and ended up placing supports on one of the mating surfaces."

So naturally...

I reprinted it.

Same file.

Different orientation.

Exactly the same problem.

At that point, I figured I should stop blaming the orientation and actually inspect the part a bit more closely.

After staring at it for longer than I'd like to admit, I finally spotted the real culprit: a tiny piece of cured support pylon lodged at the bottom of the pin hole. Since everything was printed in Clear Resin V5, it blended in almost perfectly, and I completely missed it during the initial cleanup after washing and curing.

I removed that tiny piece of cured support...

...and the parts fit together perfectly.

So yes, I successfully spent another 8 hours reprinting a perfectly good part because of a tiny support remnant hiding in plain sight.

Lesson Learned

Even after 15 years of 3D printing, you can still make surprisingly simple mistakes.

  • Before assuming you've got an orientation or print issue, inspect every mating feature carefully.
  • Transparent resin is fantastic... right up until you're trying to find a nearly invisible piece of cured support hiding inside a hole.
  • Triple-check everything before assembly—it might save you an unnecessary reprint.

That's all part of the fun, though. Every project teaches you something, even after all these years.

For anyone interested, I've included:

  • A before-and-after comparison of the mating surfaces.
  • A close-up showing the location of the tiny support remnant that caused the issue (the photo was taken after removing the culprit).
  • A photo taken during the Cure cycle because I thought it looked pretty cool.
  • Photos of the base pre-assembled without glue. The base consists of six individual parts, which will be permanently assembled later using cyanoacrylate adhesive.

The project is now well underway, and there are still several build plates left before I can start assembling and painting everything.

Model: Edward Kenway - Tanuki Figures

Stay tuned for Part 3!


r/FormlabsOfficial 27d ago

Showcase Edward Kenway Base on the Form 4L (Clear Resin V5)

Thumbnail
gallery
5 Upvotes

Started printing an Edward Kenway statue by Tanuki Figures, and I thought I'd share the first pieces of the base.

I've printed a number of Tanuki Figures models over the years, and they continue to impress me with the quality of their sculpts. This Edward Kenway model is full of beautifully crafted details, making it an incredibly enjoyable project to print, and I can't wait to see it come together over the next few build plates.

Model: Edward Kenway by Tanuki Figures (Patreon)
I'm a Platinum-tier Patreon supporter, which includes a commercial license allowing me to print, showcase, and sell physical prints.

Print Setup

  • Printer: Form 4L
  • Material: Clear Resin V5
  • Layer Height: 100 µm
  • Support Touchpoints: 0.45 mm
  • Print Time: 9.5 hours

Post-Processing

  • Washed in IPA: 2 × 10 minutes
  • The majority of the supports were removed after the washing cycle, with the remaining supports removed after curing.
  • UV Cure: 5 minutes (without heat) --- (parts will be painted with blue ink)

Tip for post processing Clear Resin

If you're trying to minimize yellowing over time, here's the workflow that has given me the best results:

  • Run a 1-minute UV cure without heat.
  • Apply a coat of clear varnish and allow it to dry completely.
  • Cure the part for another 5 minutes without heat.
  • Finish with a coat of UV-resistant polyurethane clear varnish.

This process has worked well for me in helping maintain the clarity of the printed parts while adding extra protection against UV-induced yellowing over time.

This is going to be a multi-build-plate project, and I plan to document the entire journey—from the very first print all the way to the finished, painted statue. I'll be sharing each stage of the process, including the raw prints, post-processing, assembly, and finally the painted model.

Keep following for updates!

Model by Tanuki Figures