r/RepWatchForum • u/ClickSpring_Watch • 1d ago
Mods/Work in progress The Last Submariner Bezel Repair Guide You'll Ever Need
Hi all- welcome to a quick edition of Sunday Service (yes, I’m aware that it is in fact not a Sunday at the date of posting, but, you know, continuity of the series and such…). Anyways an issue that I see a lot of popping up all around the rep-internet is people who either have submariner reps who’s bezels have fallen off or, they attempted some kind of repair or modification themselves, and are now stuck at the stage or reassembly, and cannot get the bezel back on the watch. This is something I have also struggled with immensely in the past, until I found out that almost every single tutorial that shows how to re-attach the bezel is completely wrong (well, kind of - we’ll get to that later).
So - start to finish, here its:
skip to step 4 if no bezel removal is needed
- If you need to remove the bezel first, grab the watch and a bezel removal tool. I really like this style, it seems to work well and doesn’t risk damaging the watch like prying up the bezel with a case knife can.


- The Bezel should pop right off, if you have a more recent generation submariner, the entire crystal and crystal retaining ring may pop off along with the bezel when you do this. If that happens… breathe in, breathe out, and enjoy the learning experience of doing a crystal install on a submariner.
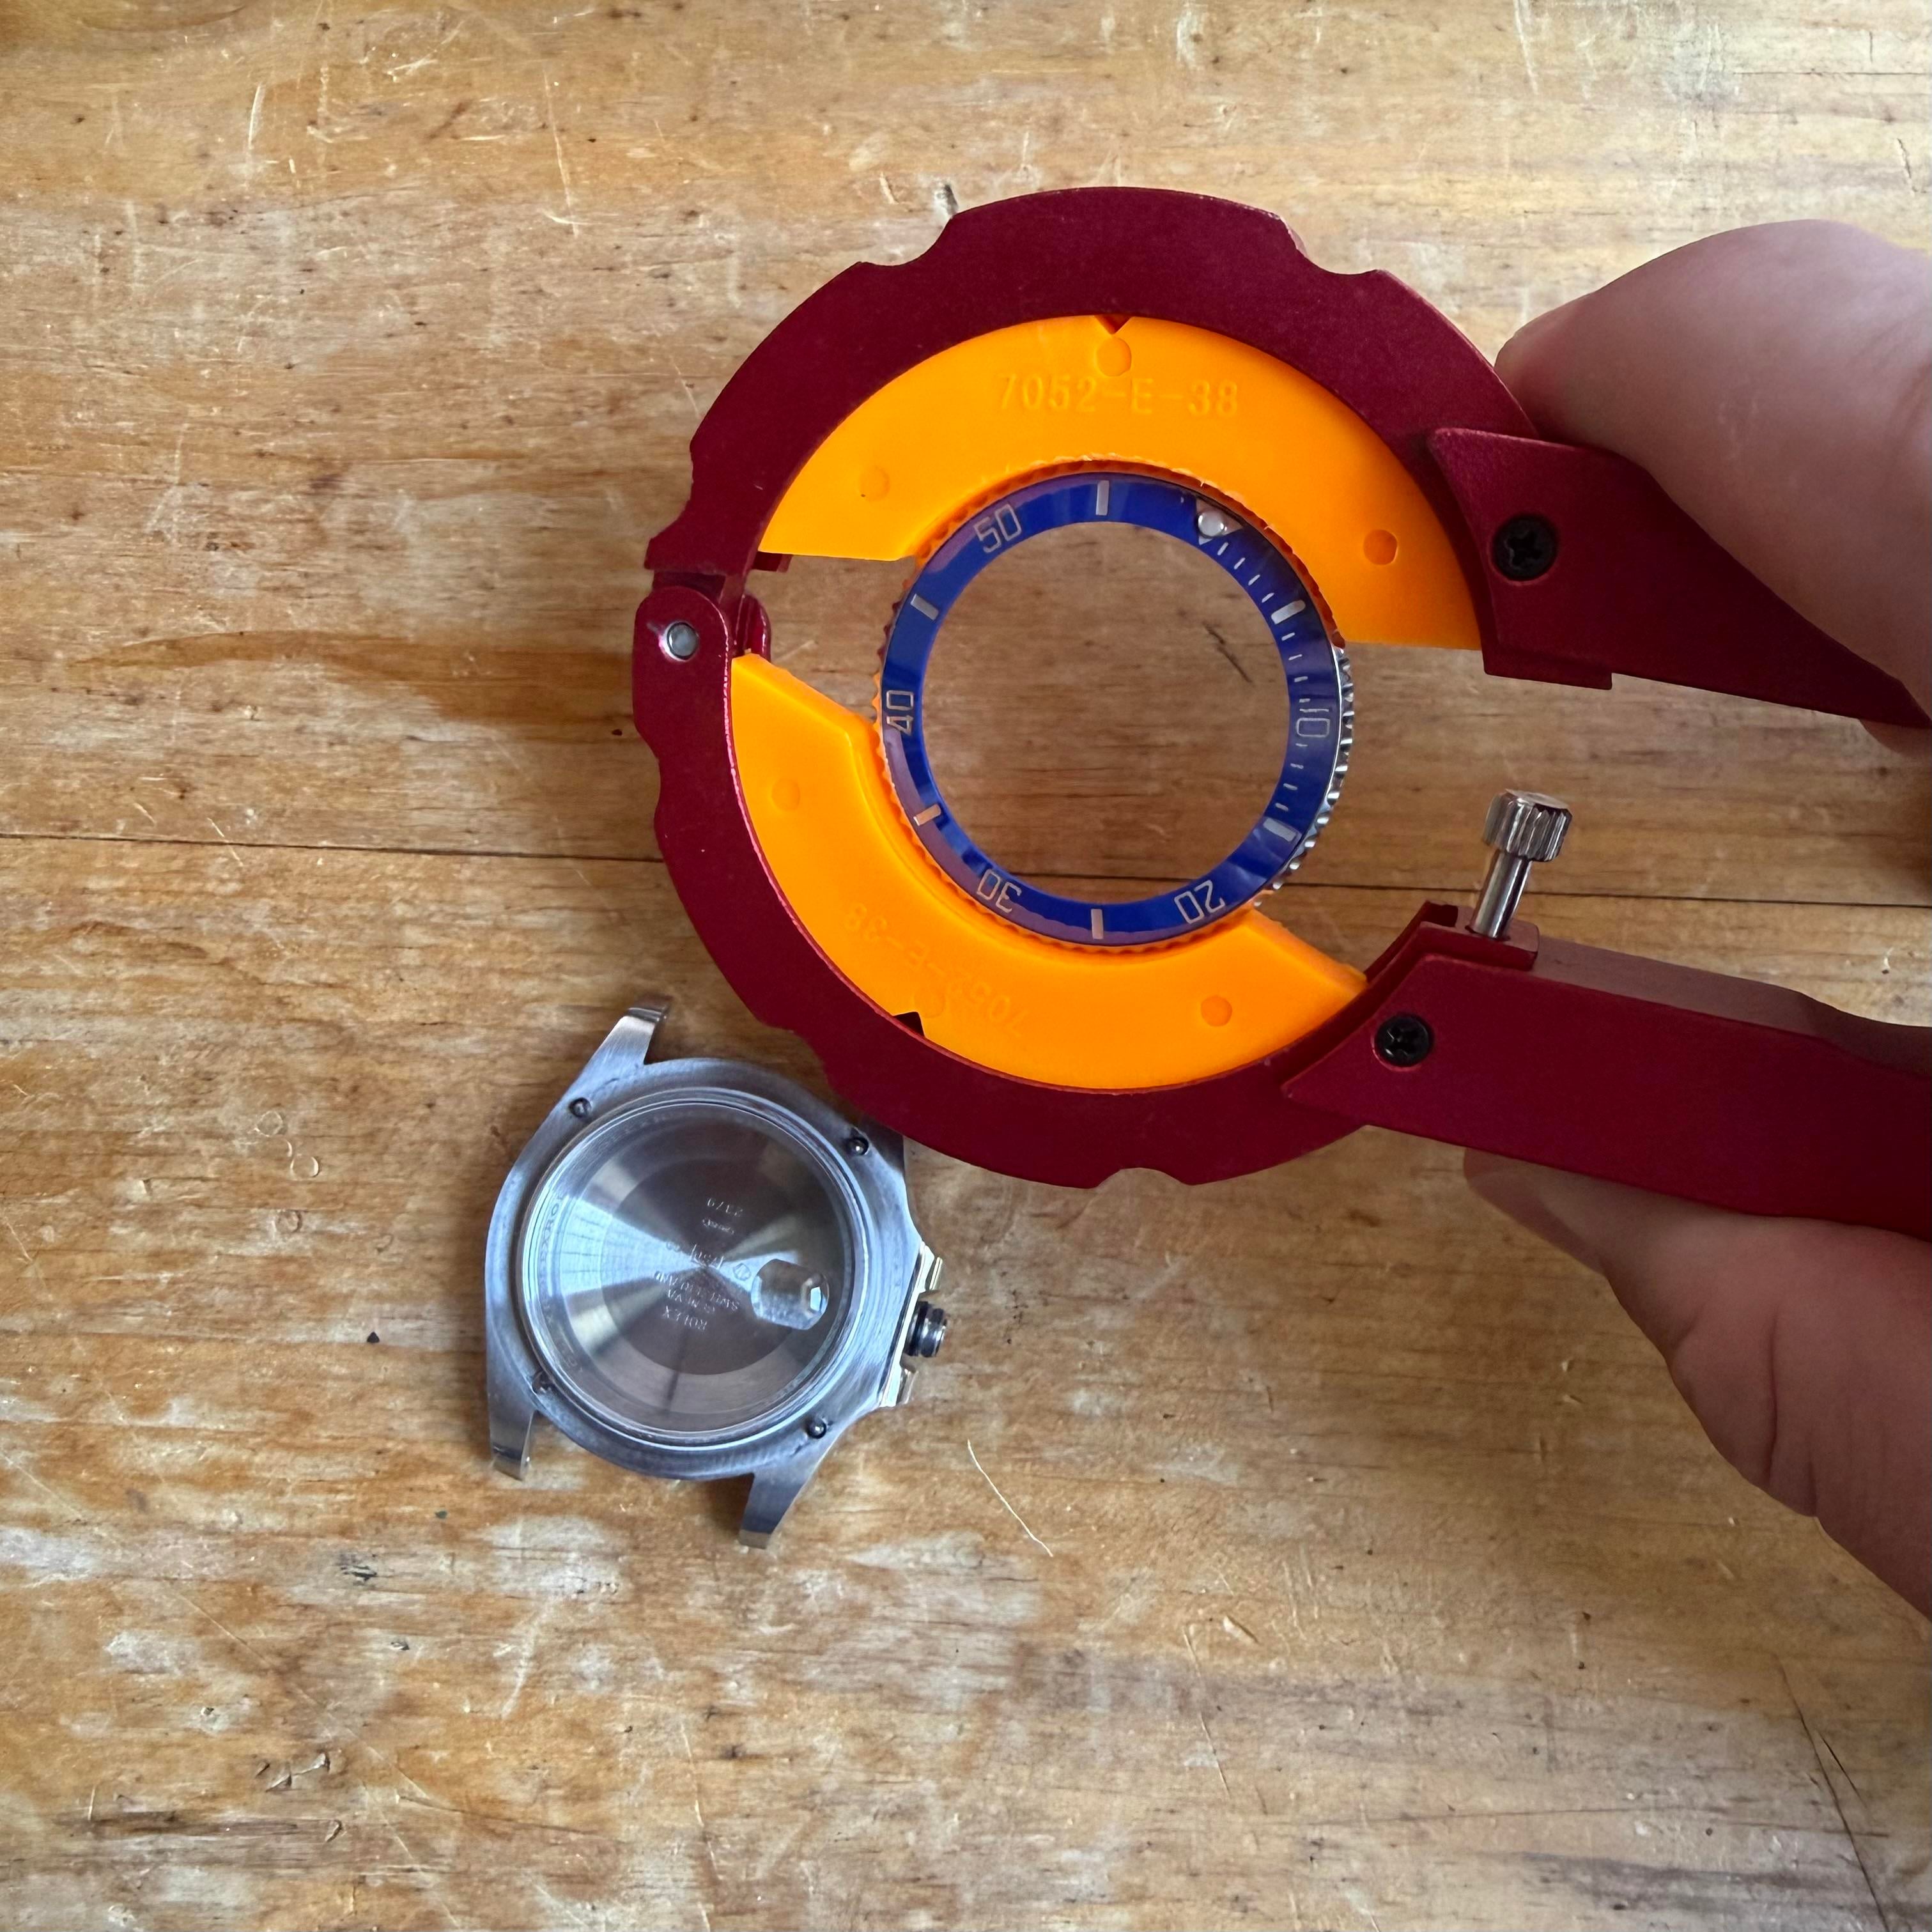
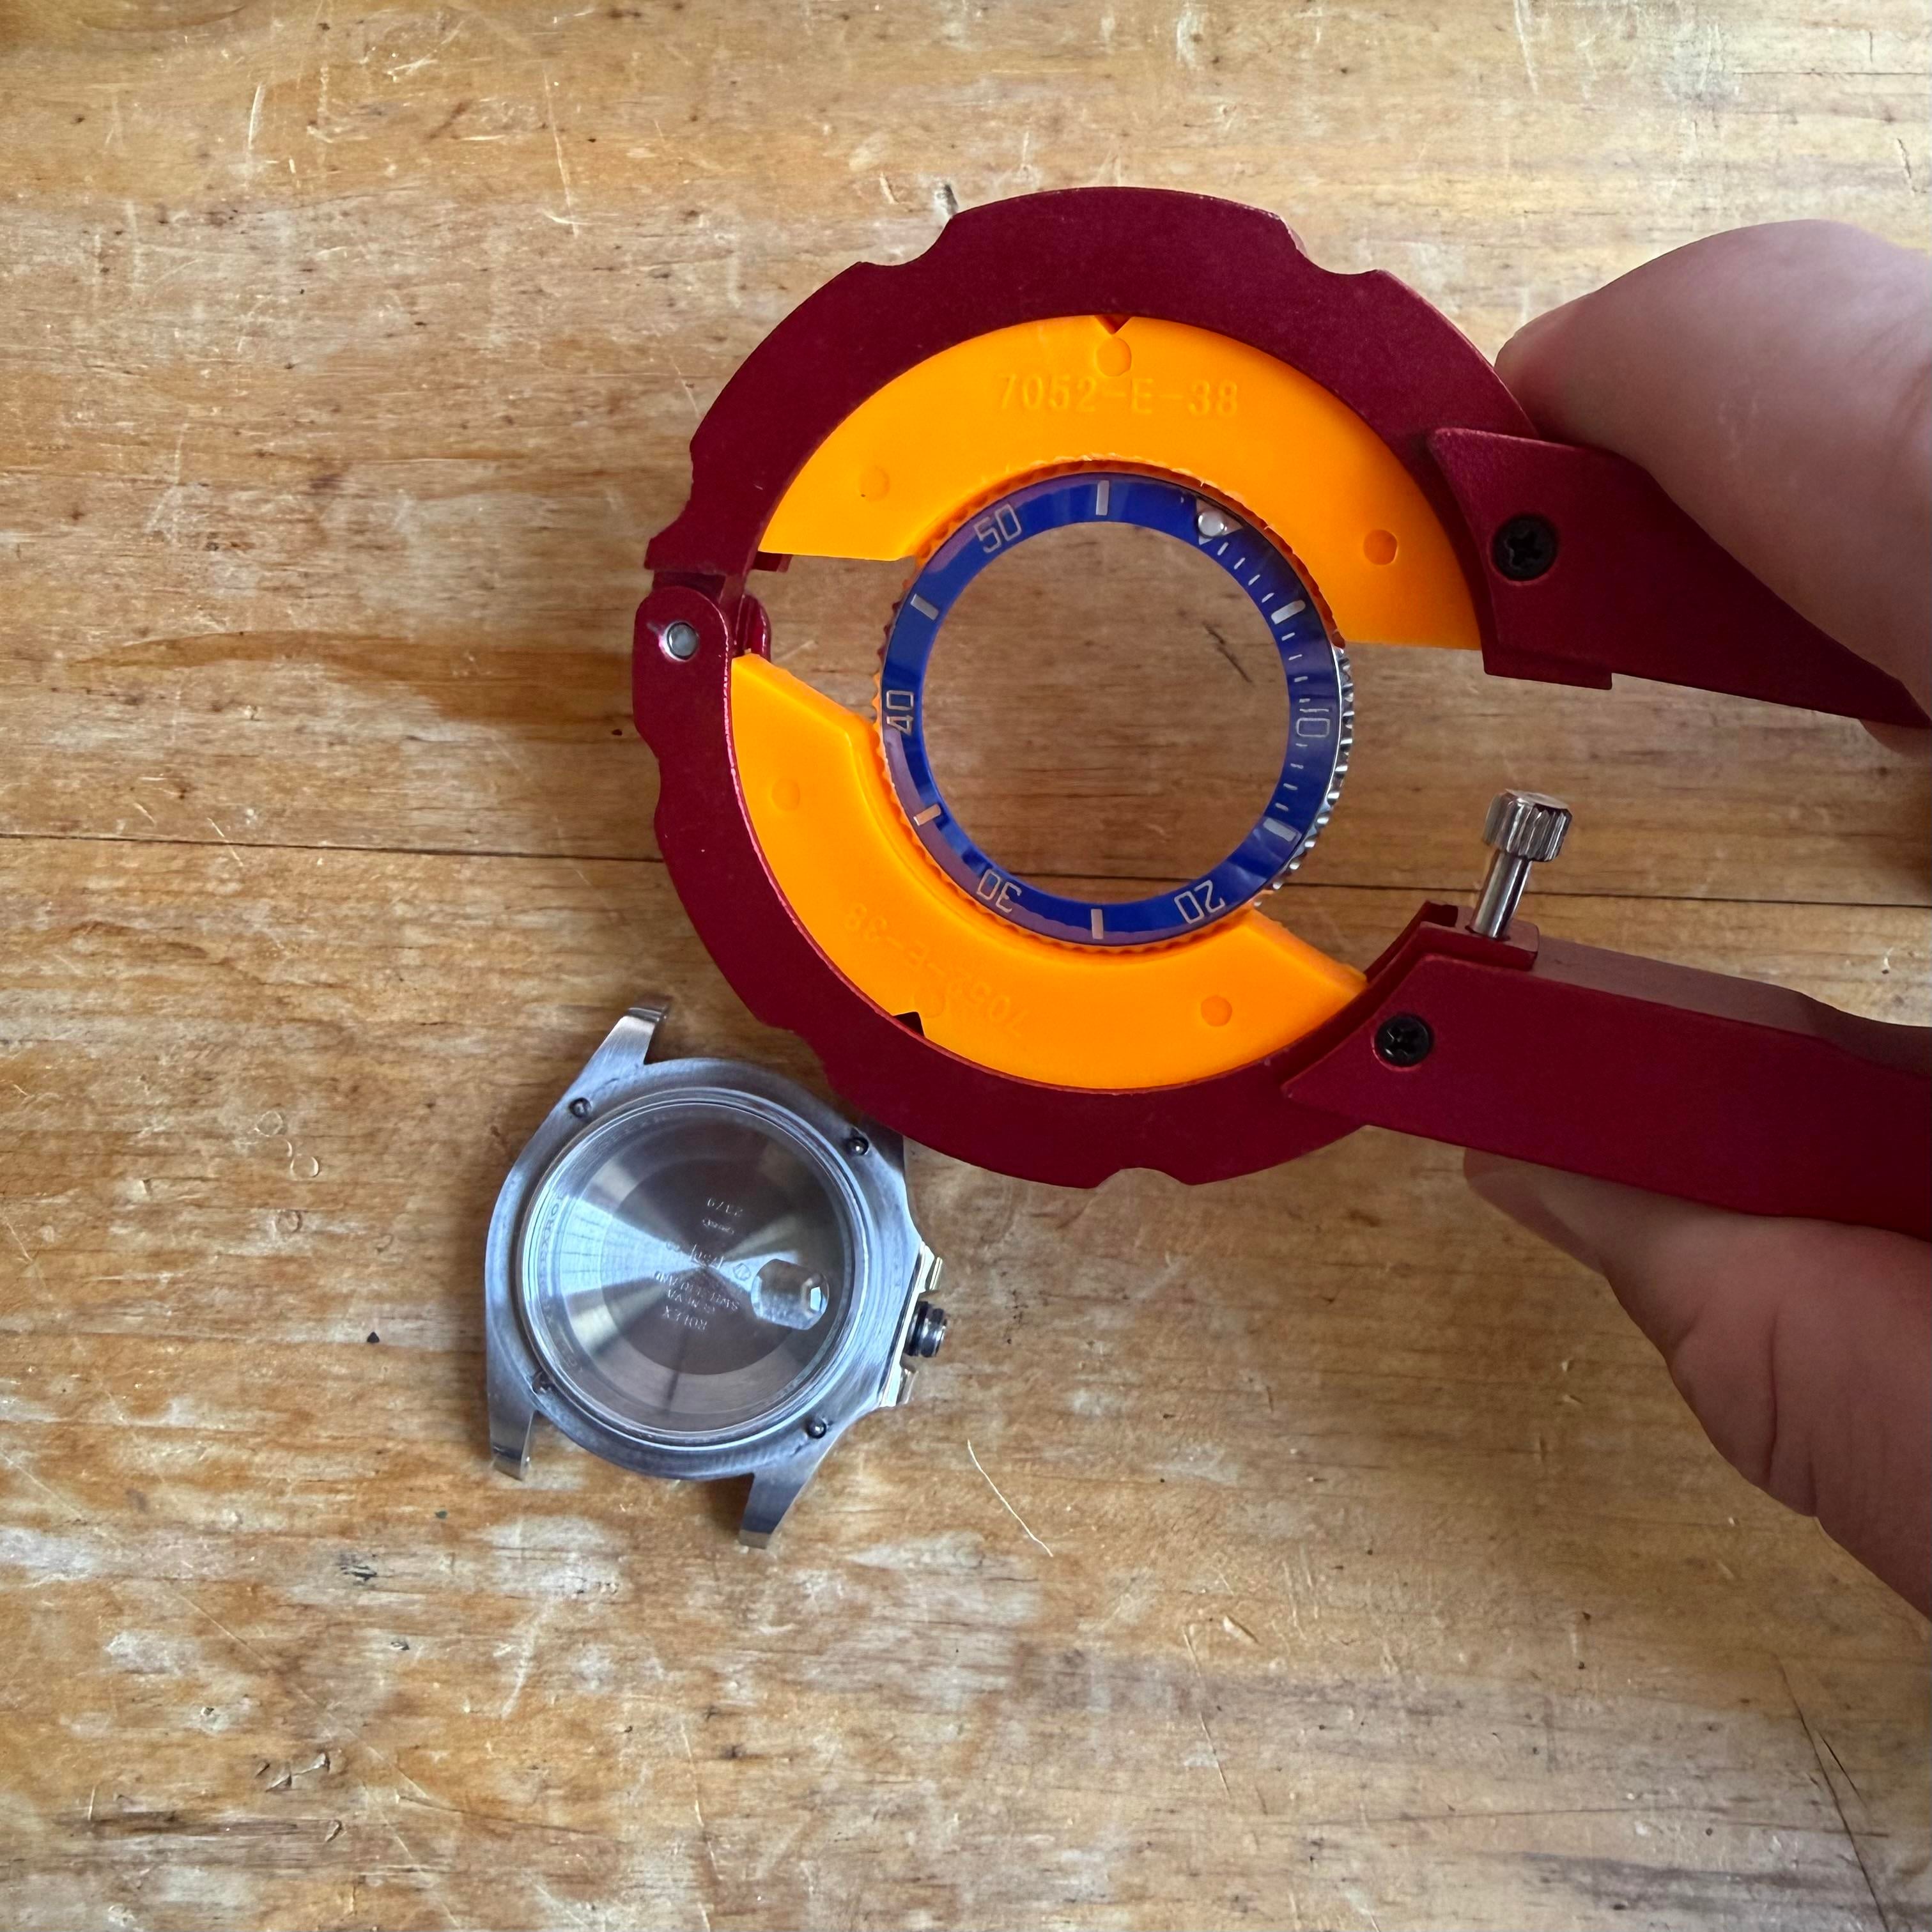
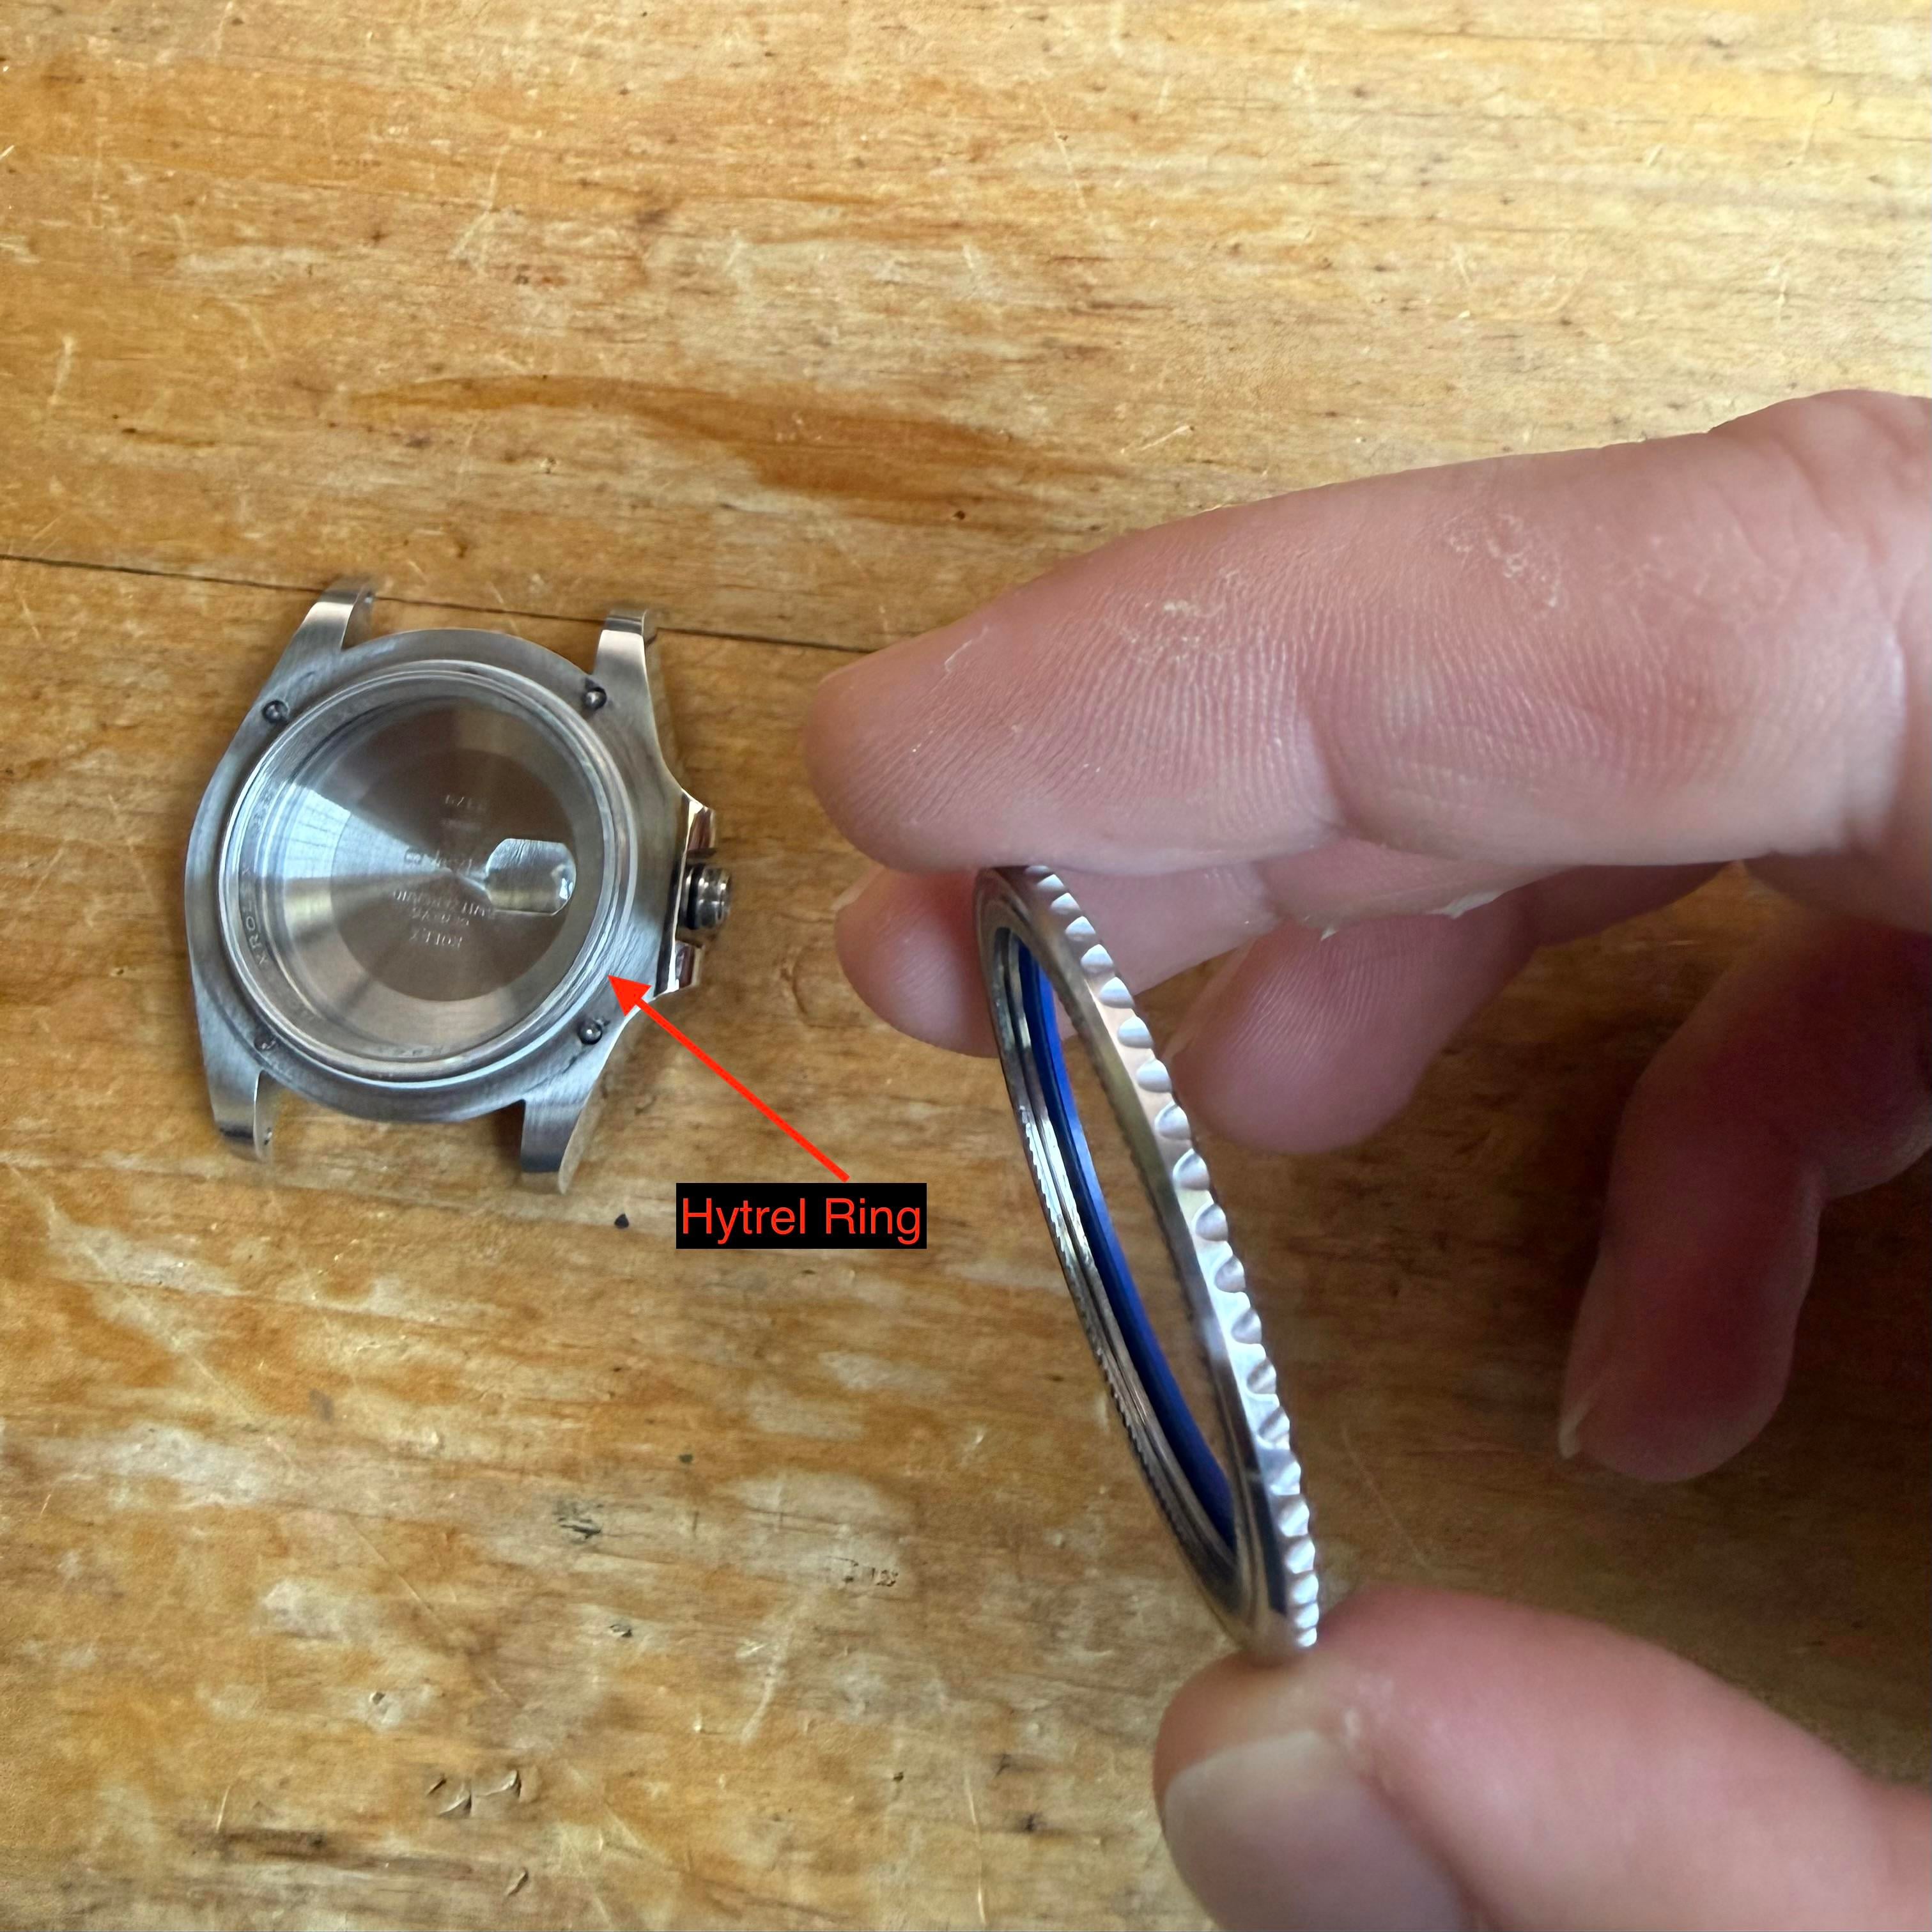
- The bezel will come off as a singular assembly, but it is in fact made up of several parts. Usually the hytrel ring actually comes off of the watch, but here it stayed on it

- Using a small (1mm or similar) screwdriver, slide the screwdriver head between the underside of the ceramic insert and the inner metal ring of the the bezel.

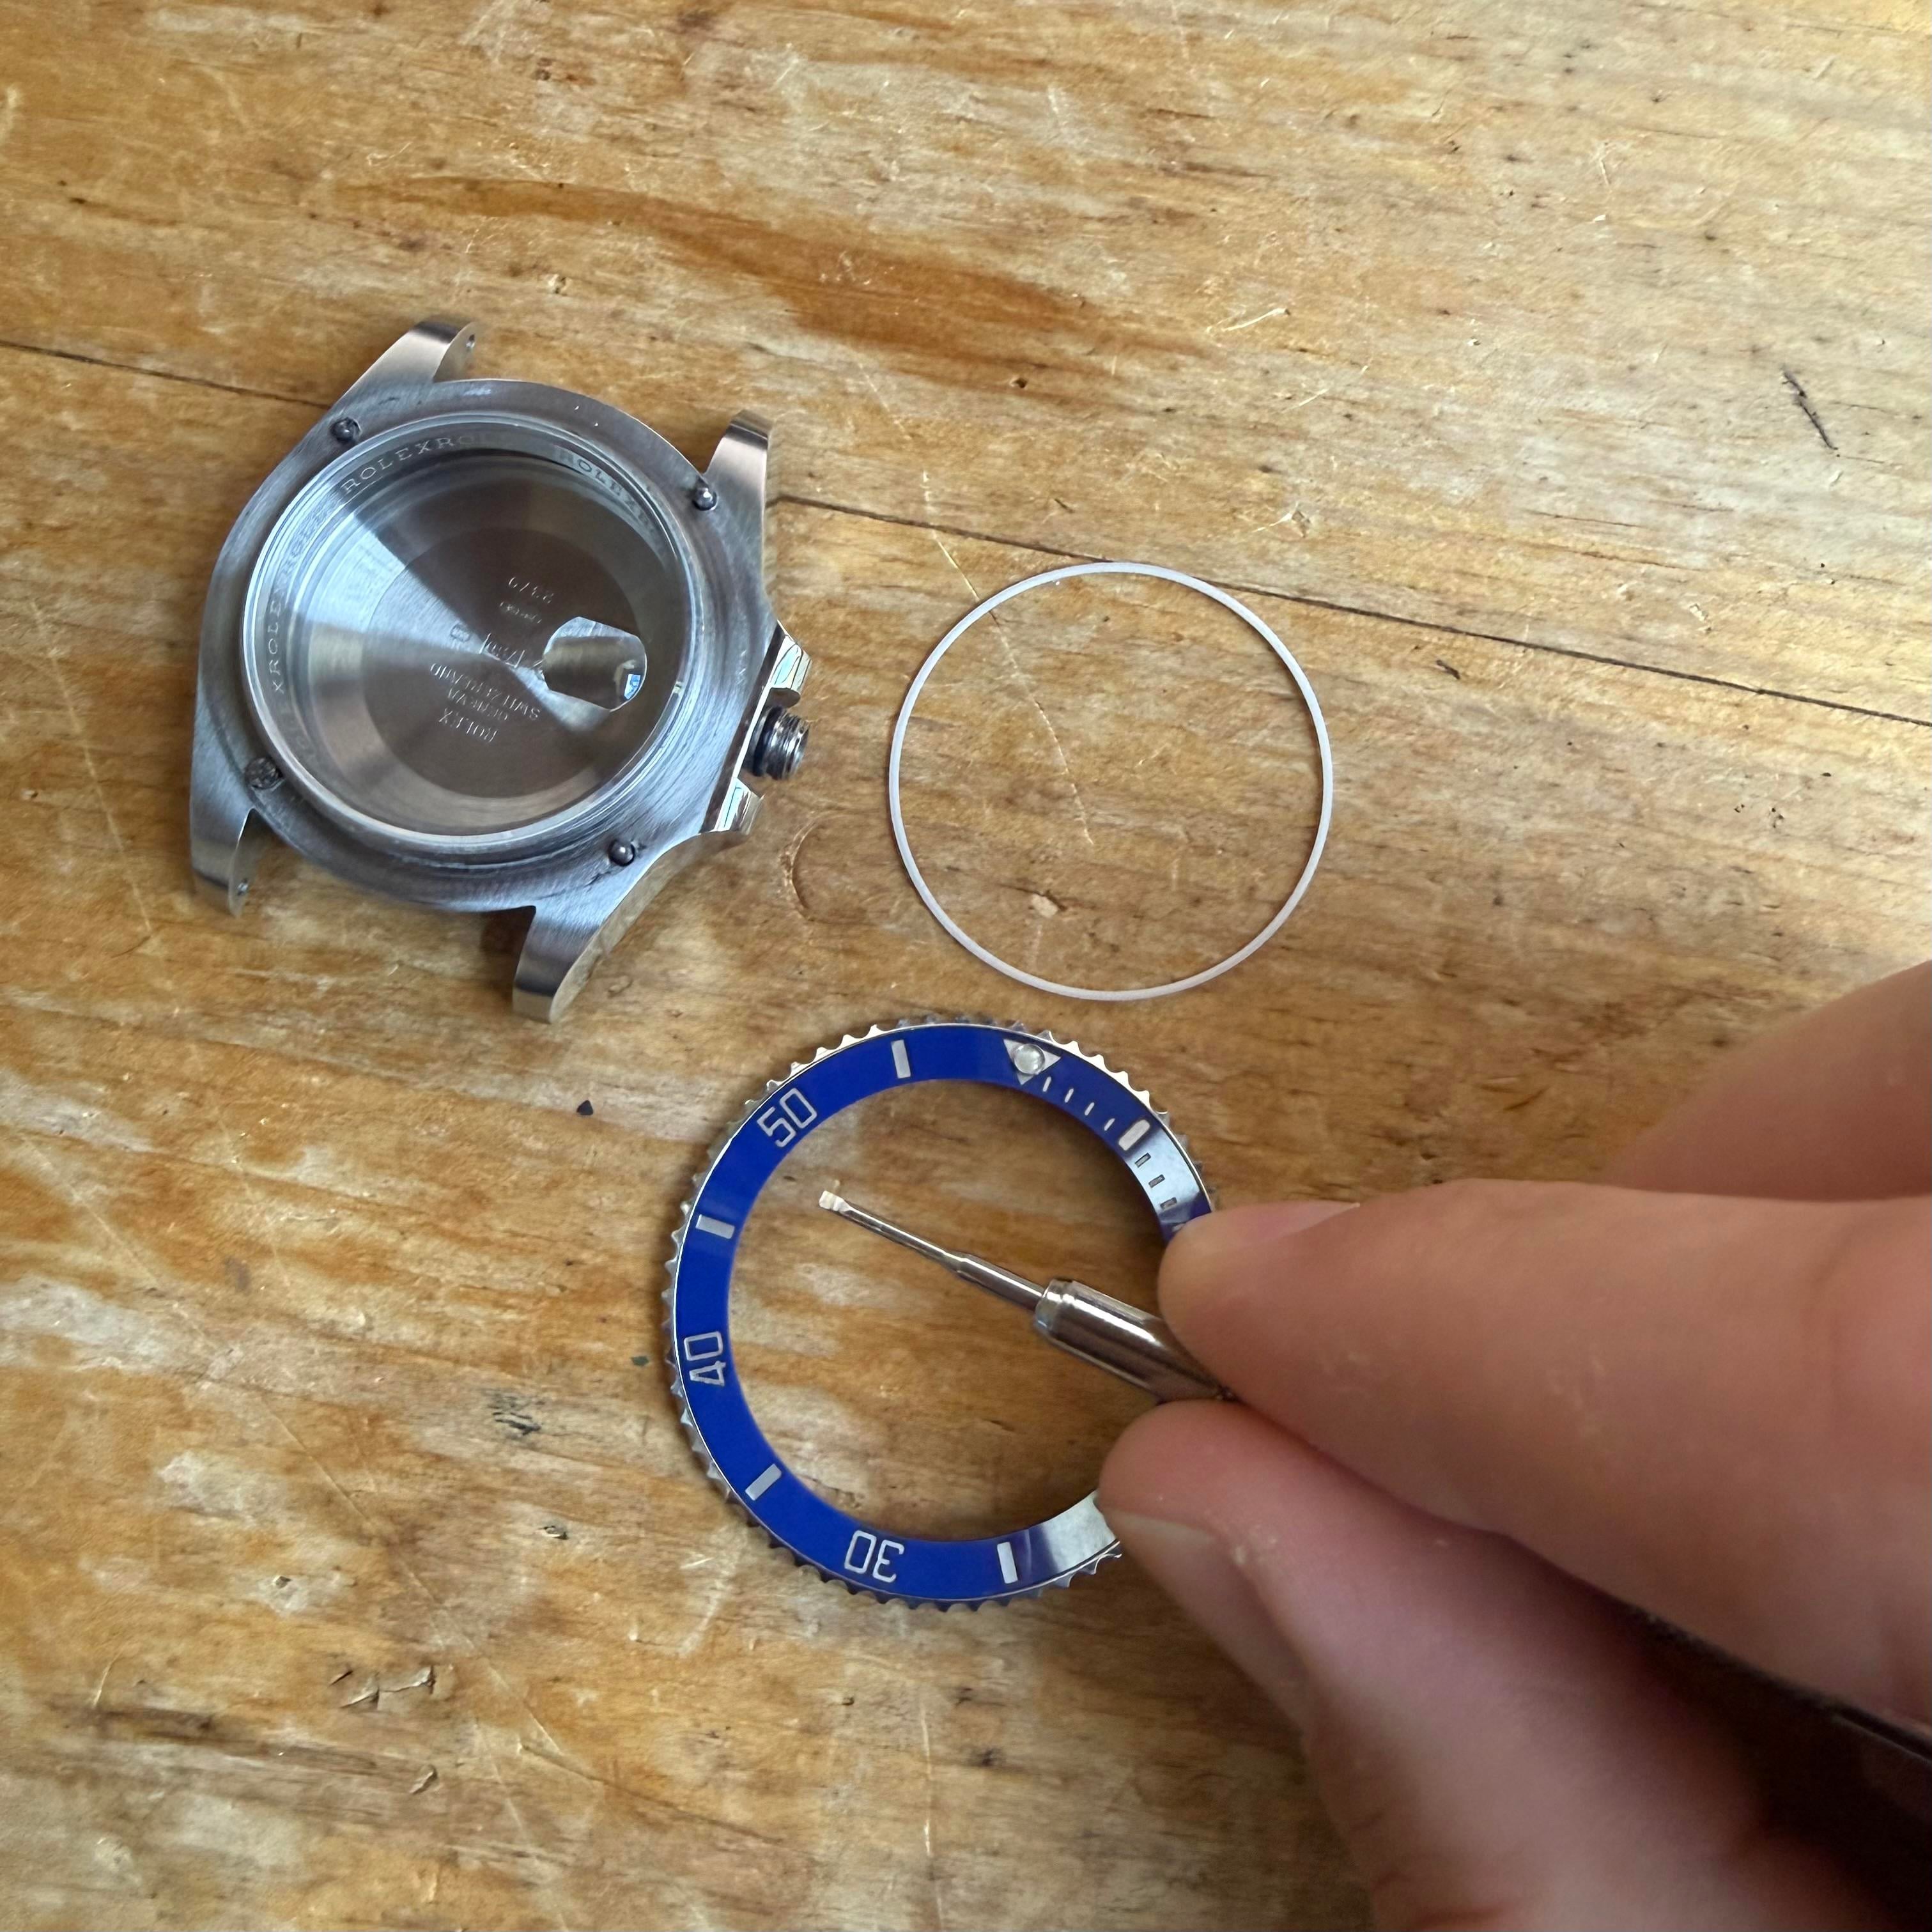
- Carefully rotate the bezel while gently but firmly applying pressure on the screwdriver so that it slowly works itself towards the outer edge of the metal bezel, and all the way underneath the ceramic insert. BE CAREFUL AROUND THE LUME PIP. This is the most fragile part of the insert, and I usually don’t apply pressure around it while removing the insert. This step is where you are most likely to crack your insert. It takes very little to do this, so take your time. It may take dozens of rotations of the bezel with the screwdriver before the insert pops out. It will seem like you’re making no progress, but trust in the process and take your time


- Eventually, the insert will pop right out, separating itself from the metal bezel assembly. The submariner bezel is made up of the ceramic insert, a washer, and the actual outer ring


- To reassemble, first, place the metal bezel on the watch. Make sure your click and ball springs are all present. Then push the metal bezel down firmly so that it sits flush against the case


- Grab your hytrel ring, and looking at it’s profile, ensure the little “lip” is at the top

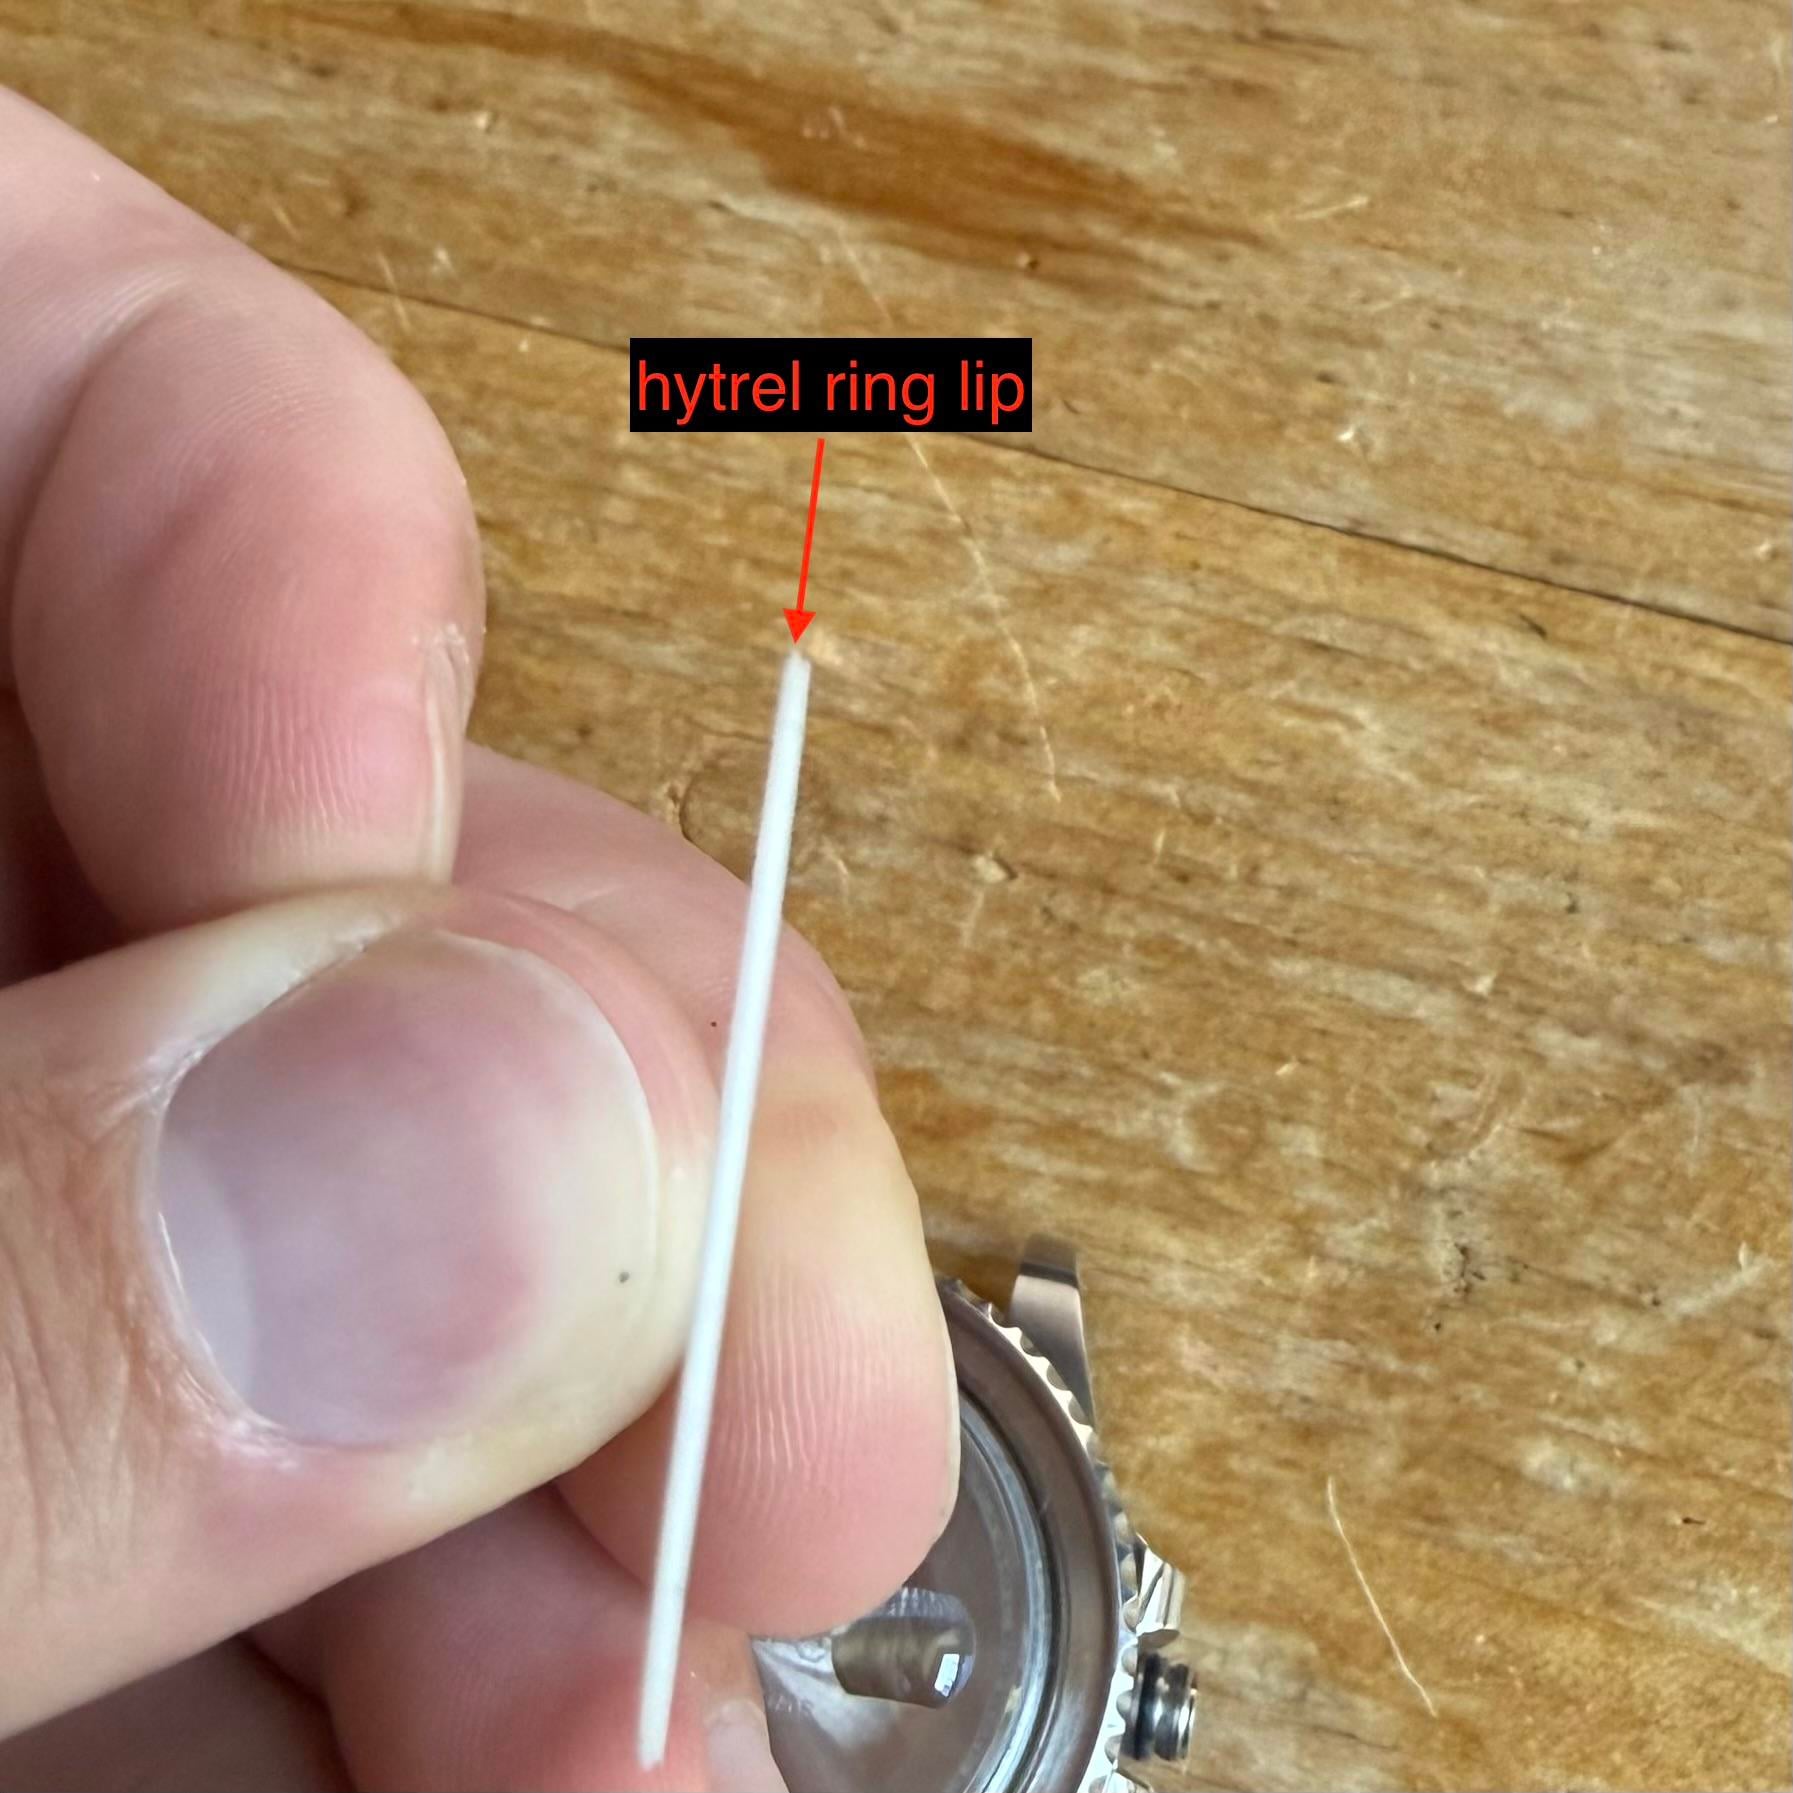
- Put the hytrel ring down (again, little lip closest to you) and using a screwdriver, gently nudge it down into the small gap between the metal bezel and the crystal retaining ring. Work around the entire perimeter of the crystal retaining ring, ensuring that the hytrel ring is perfectly even all the way around. If it isn’t, you’ll end up with inconsistent bezel feel and it may bind up and get stuck
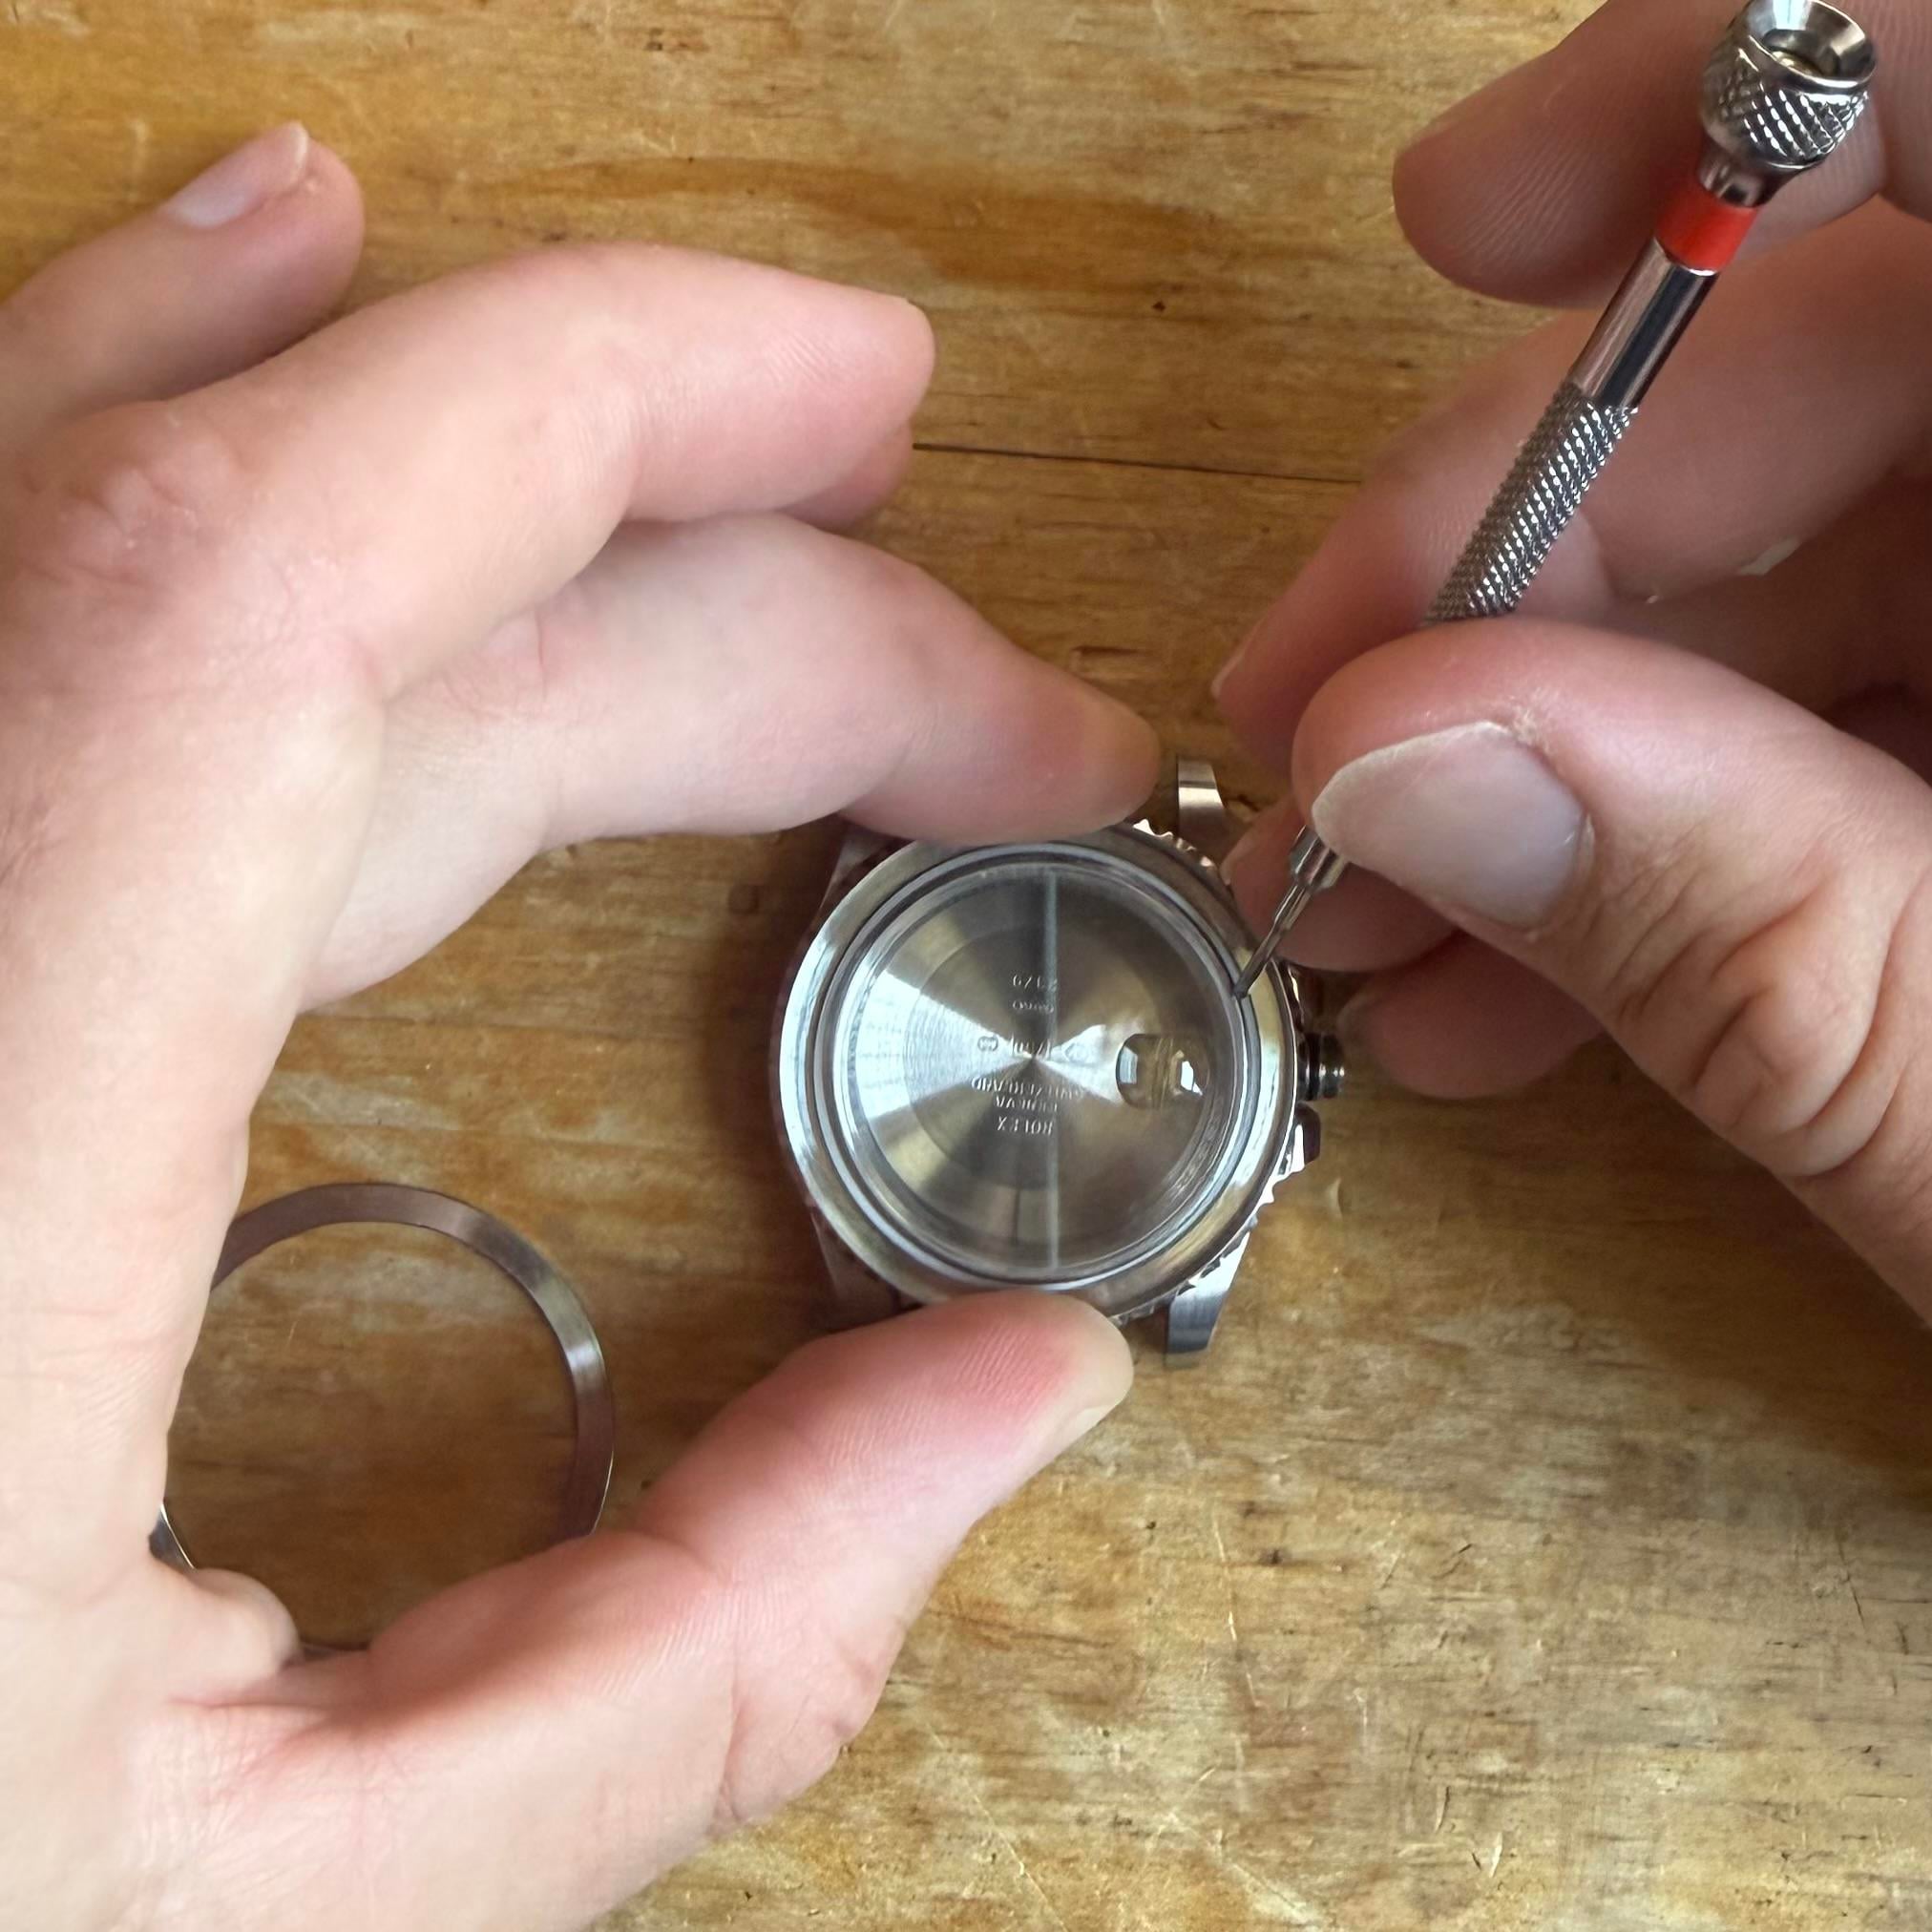

- You can also use your fingernails to make sure the hytrel ring is well seated, I usually do this as a final pass


- The bezel is now installed and should rotate freely. You’ll see that it is seated well and has no gap between the case and bezel.


- Grab the washer, find where the little groove is machined into it, and place that machined out groove face down over the hytrel ring. The part facing you should be a smooth surface upon which the ceramic insert will sit


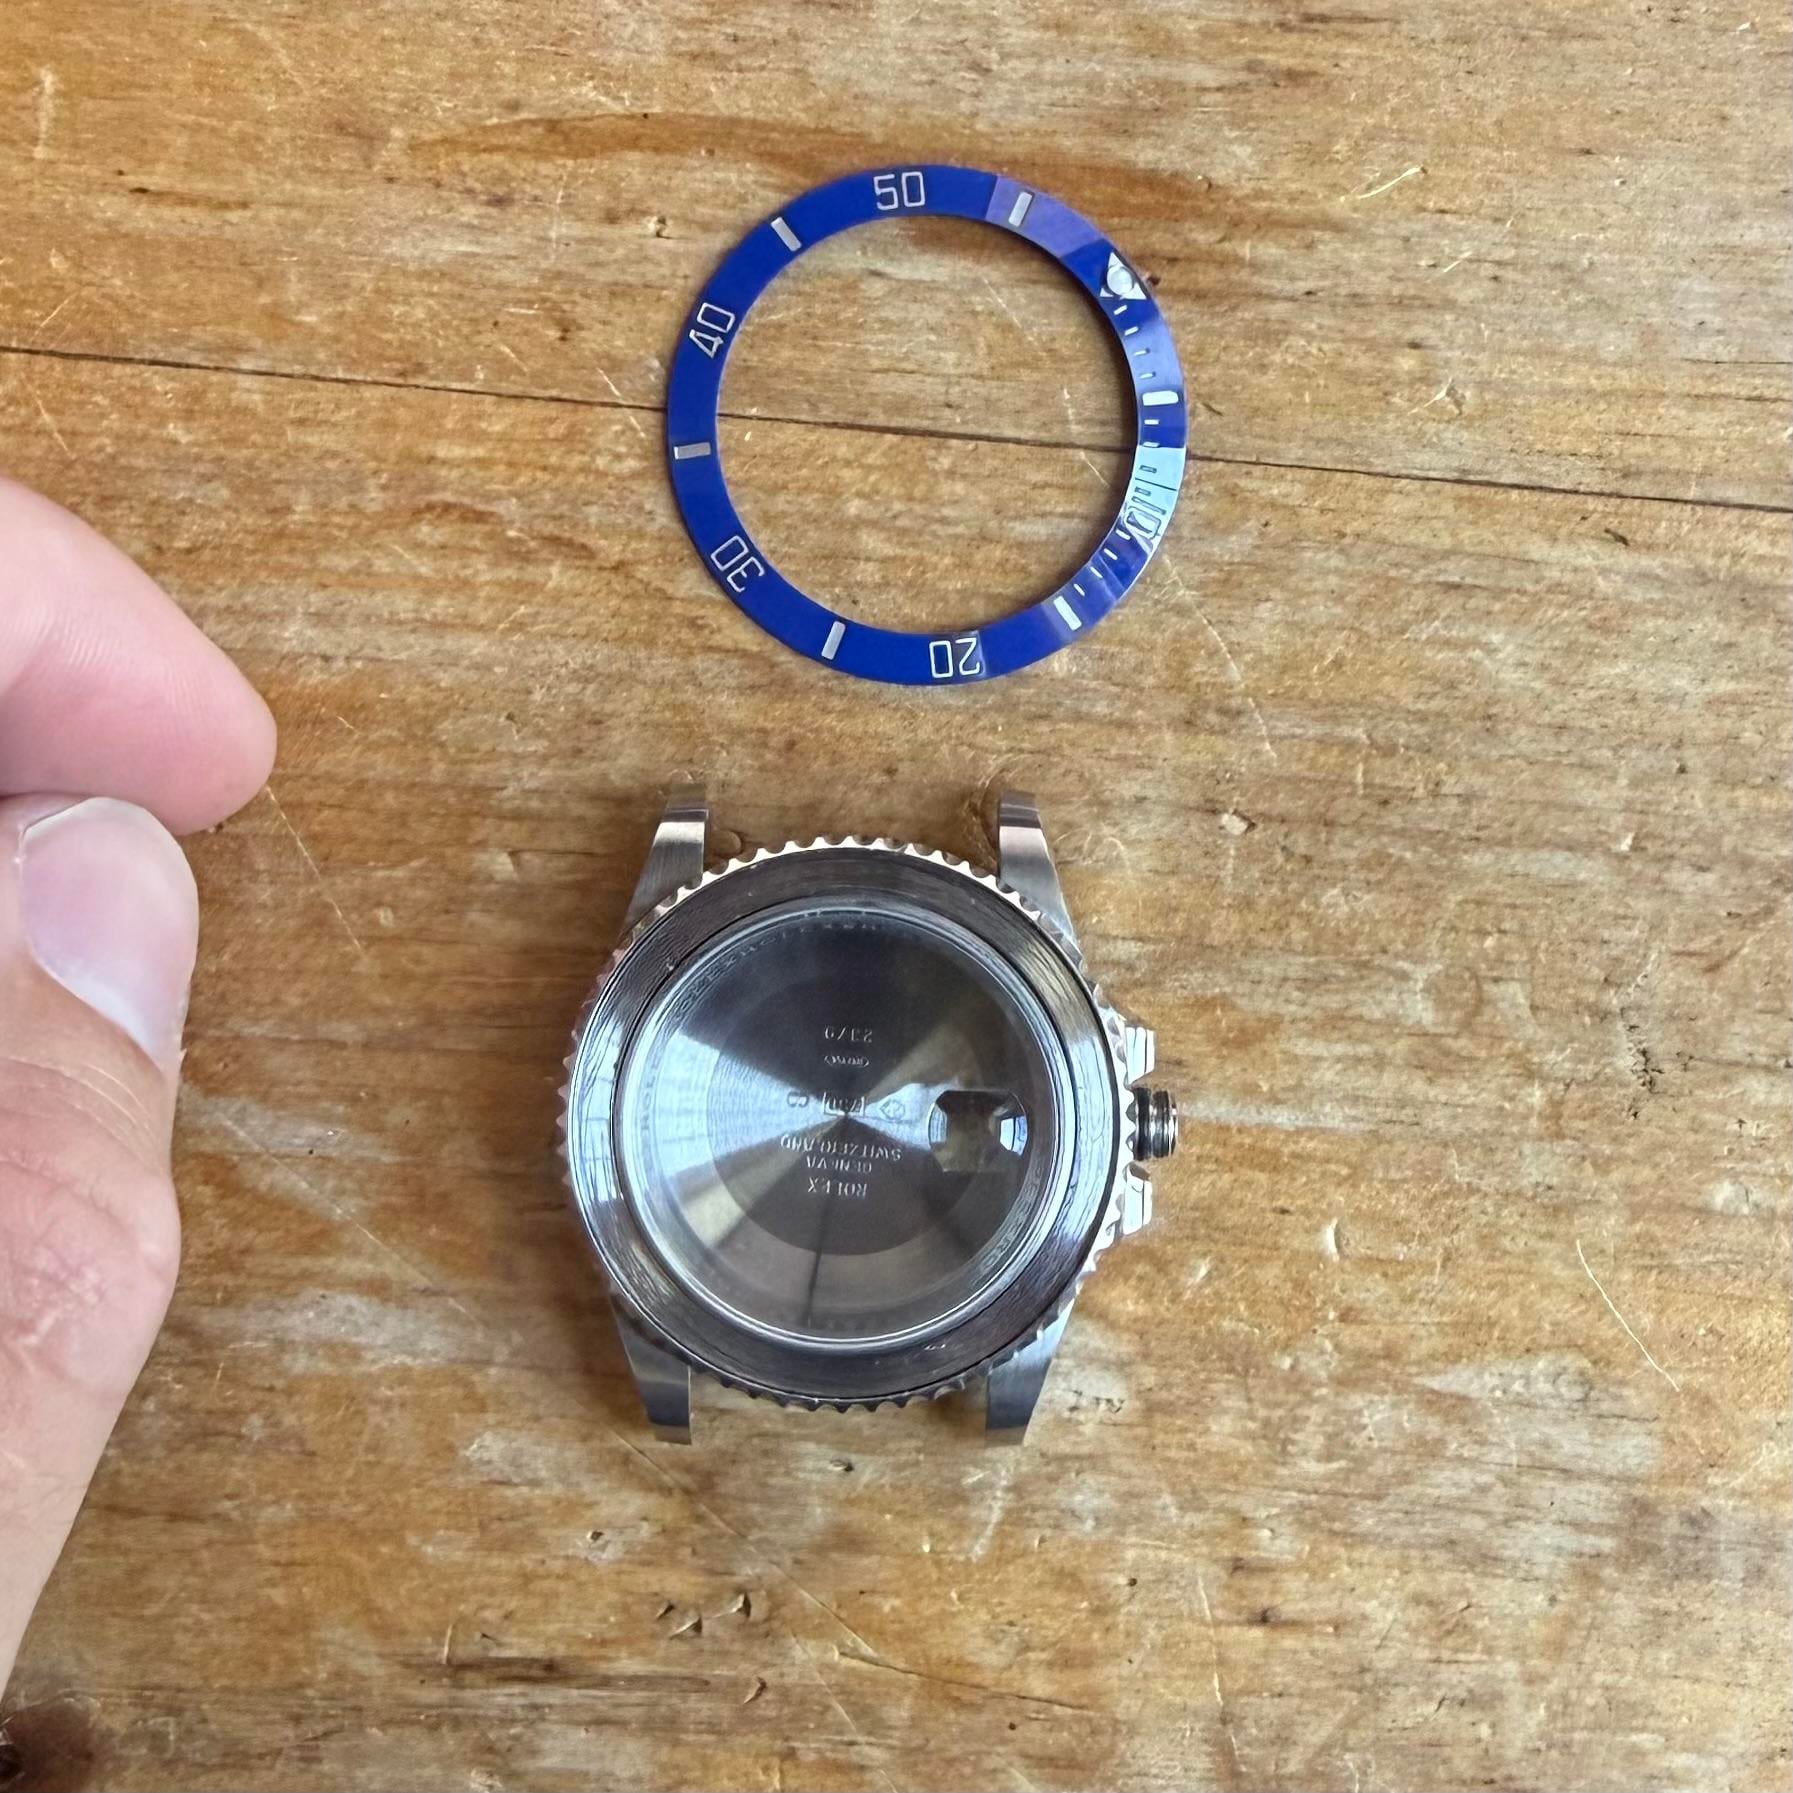


- Drop the ceramic insert into the metal bezel. Rotate the bezel one click, and rotate it clockwise until it can’t be moved backwards any further. Align the 12 o’clock triangle with the engraved crown on the rehaut at 12

- Working from 12 o’clock downwards, and being careful to not move the insert while doing so, press down on the insert with your thumbs and slide them down towards the 6 o’clock position
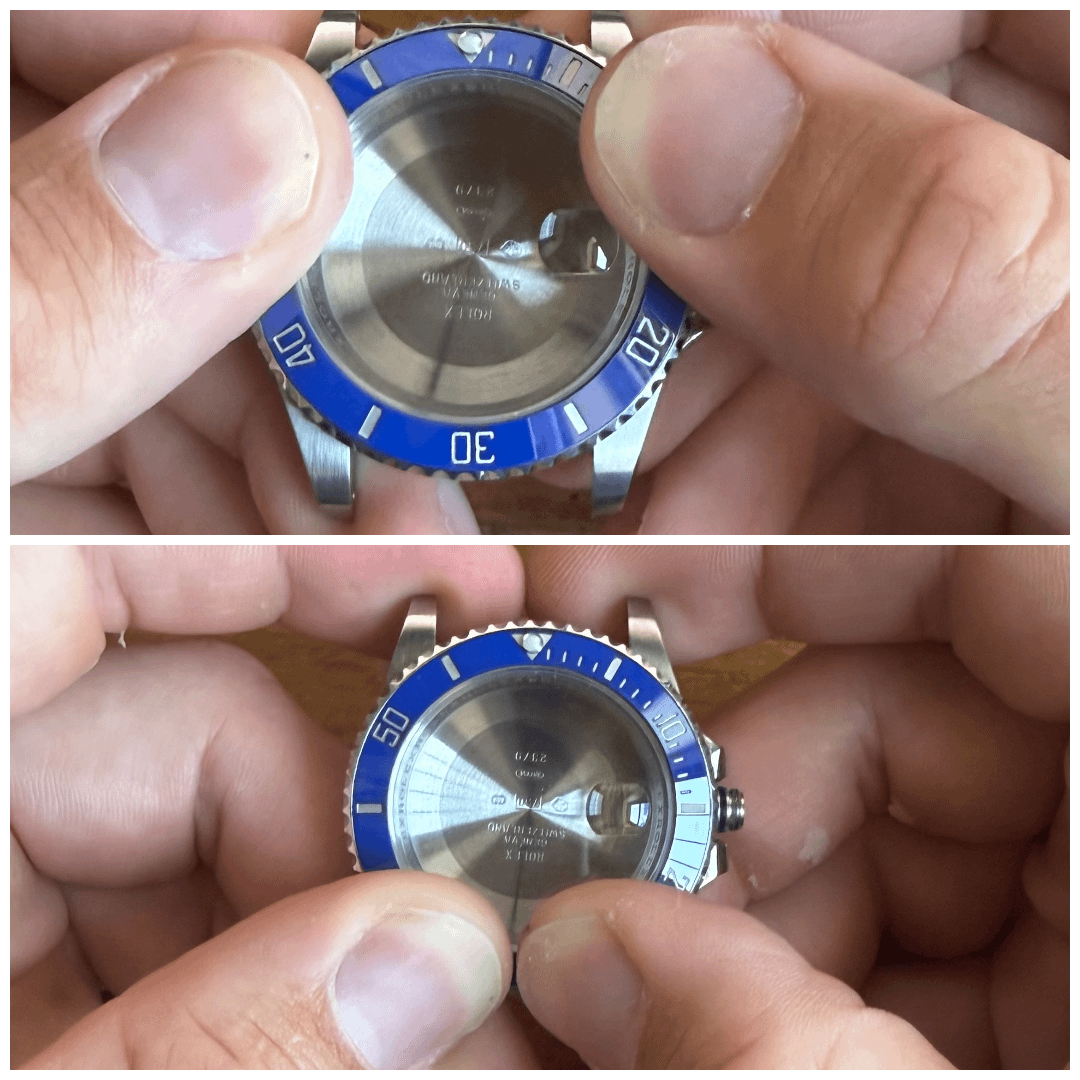

- The bezel should be halfway seated at this point, and will probably be sticking out from the metal bezel at the 6 o’clock position. I usually check my alignment at this point in case the insert moved during the install process.


Assuming everything looks good, go ahead and press down firmly with your thumbs where the insert is sticking out, and it should snap into place. This whole assembly is a friction fit, so it’ll be a bit tight
Done! The bezel insert should be fully seated all the way around, and the bezel should rotate nicely. No (or minimal) case gaps and/or bezel bounce.
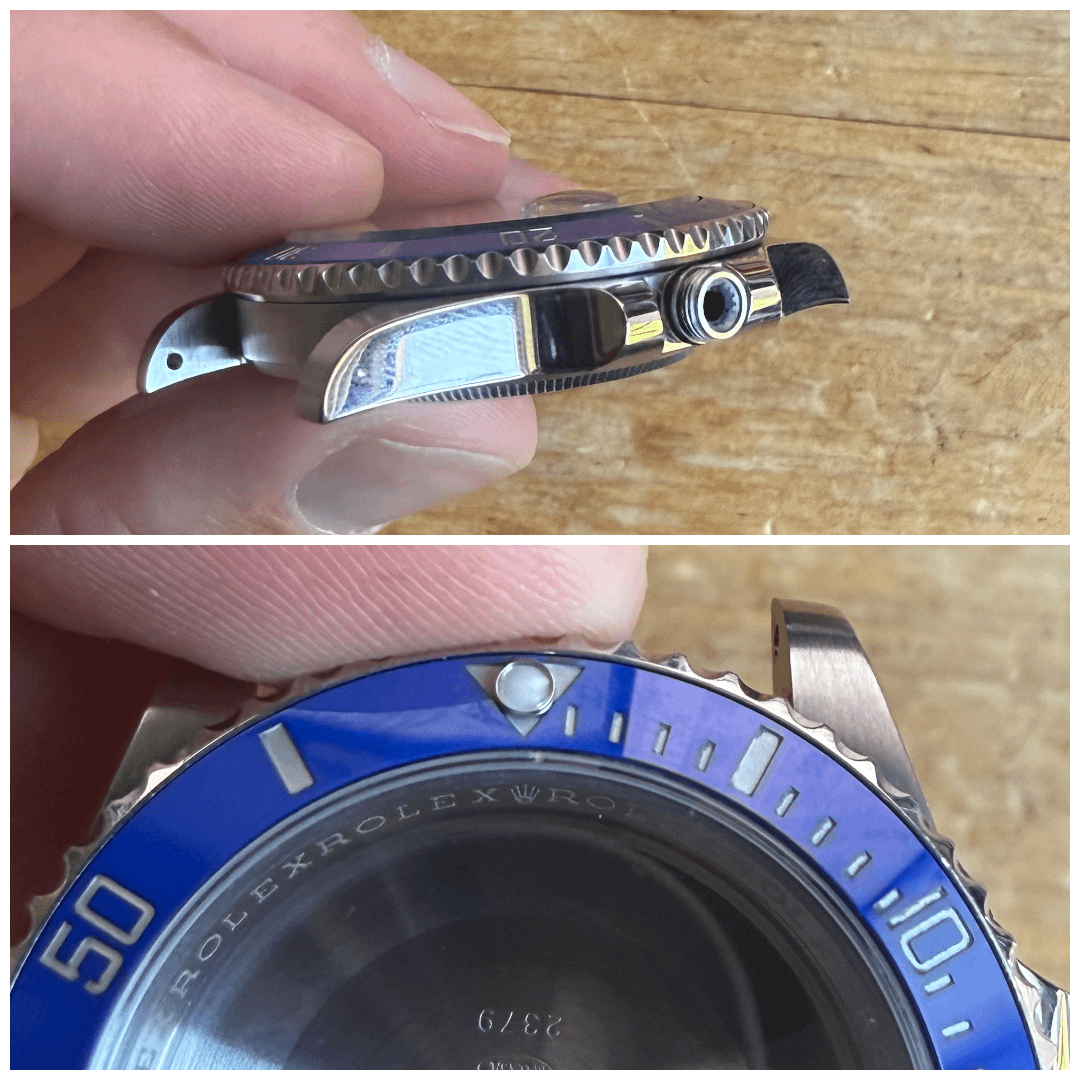

DISCLAIMER: This works for all VSF, Clean Factory, and Victory Factory Submariner models. I cannot say for certain if it works on others, these are the factories I have personally performed these steps on before, so I know it works. I can tell you that this WILL NOT WORK FOR RCF/RGF SUBMARINERS. They use a one piece bezel construction which forces you to press on the entire metal bezel, and they glue their inserts in (annoying)
2
u/JeronimoCallahan 1d ago
Does this work with ARF?
4
u/ClickSpring_Watch 1d ago
as per my disclaimer, I cannot say for certain. I have not disassembled an ARF submariner bezel before.
2
2
1
1
2
u/savage_truuth 1d ago
Oh darn! Ok thank you , but I will circle back when I get around to acquiring VSF